In this guide, you will learn how to set up a serverless Postgres database with Neon, configure Strapi CMS with Postgres, define a blog schema, and author content using Strapi CMS. The guide also covers configuring API read permissions and building a dynamic frontend with Astro to display blog pages based on Strapi content.
Prerequisites
To follow the steps in this guide, you will need the following:
- Node.js 18 or later
- A Neon account
Steps
- Provisioning a serverless Postgres database powered by Neon
- Setting up Strapi locally with Postgres
- Configure a blog schema in Strapi CMS
- Configure API read permissions in Strapi CMS
- Create a new Astro application
- Integrate Tailwind CSS in your Astro application
- Create dynamic blog routes in Astro
- Build and test your Astro application locally
- Scale-to-zero with Postgres (powered by Neon)
Provisioning a serverless Postgres database powered by Neon
Using a serverless Postgres database powered by Neon lets you scale compute resources down to zero, which helps you save on compute costs.
To get started, go to the Neon console and create a project.
You will then be presented with a dialog that provides a connection string of your database. Click on Pooled connection option and the connection string automatically updates to a pooled connection string.
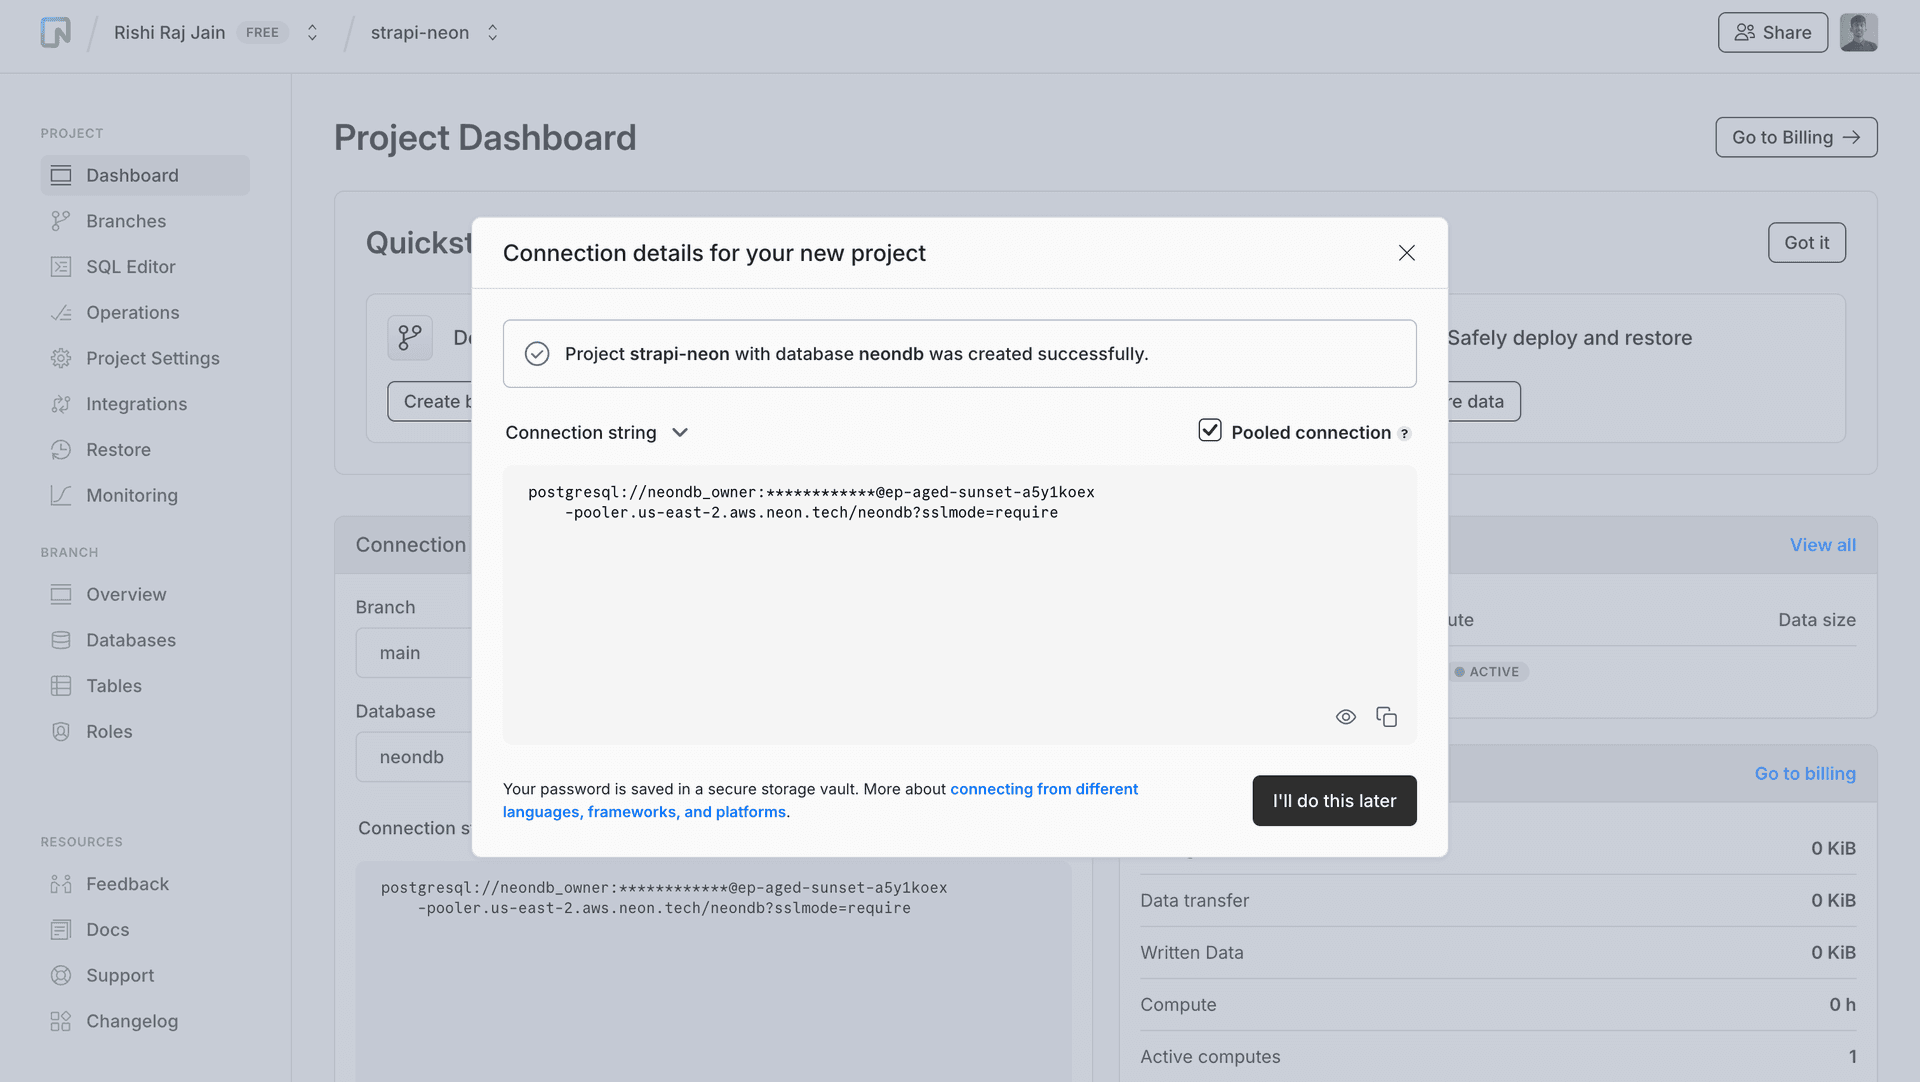
All Neon connection strings have the following format:
postgres://<user>:<password>@<endpoint_hostname>.neon.tech:<port>/<dbname>?sslmode=require<user>is the database user.<password>is the database user’s password.<endpoint_hostname>.neon.techis the host withneon.techas the top-level domain (TLD).<port>is the Neon port number. The default port number is 5432.<dbname>is the name of the database. neondb is the default database created with each Neon project if you do not define your own.?sslmode=requireis an optional query parameter that enforces SSL mode for better security when connecting to the Postgres instance.
Each of the above values (except sslmode) is used in the next step — creating a local instance of the Strapi CMS application with Postgres.
Setting up Strapi locally with Postgres
Let's begin with creating a Strapi CMS backend to serve the content for blog posts. Open your terminal and run the following command:
npx create-strapi-app@latest blog-apinpx create-strapi-app is the recommended way to scaffold a Strapi CMS project quickly.
When prompted, choose the following:
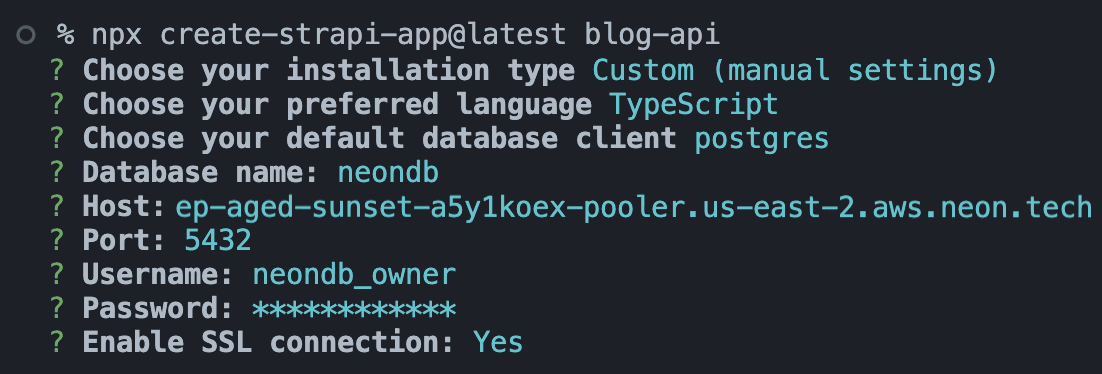
Custom (manual) settingsas the installation type.TypeScriptas the preferred language.postgresas the default database client.neondbas the database name.<endpoint_hostname>.neon.techas the host.5432as the port.neondb_owneras the username.<password>as the password.yto enable an SSL connection.
Once that’s done, change to the project directory and start the app:
cd blog-api
yarn develop
The command strapi develop runs, which takes care of creating the minimal schema required by Strapi CMS in the Neon Postgres database. When the setup is complete, you will be taken to http://localhost:1337/admin automatically. You will need to create an account for your locally hosted Strapi CMS instance. Strapi CMS makes sure to store the credentials (and all other data) in your Neon Postgres database.
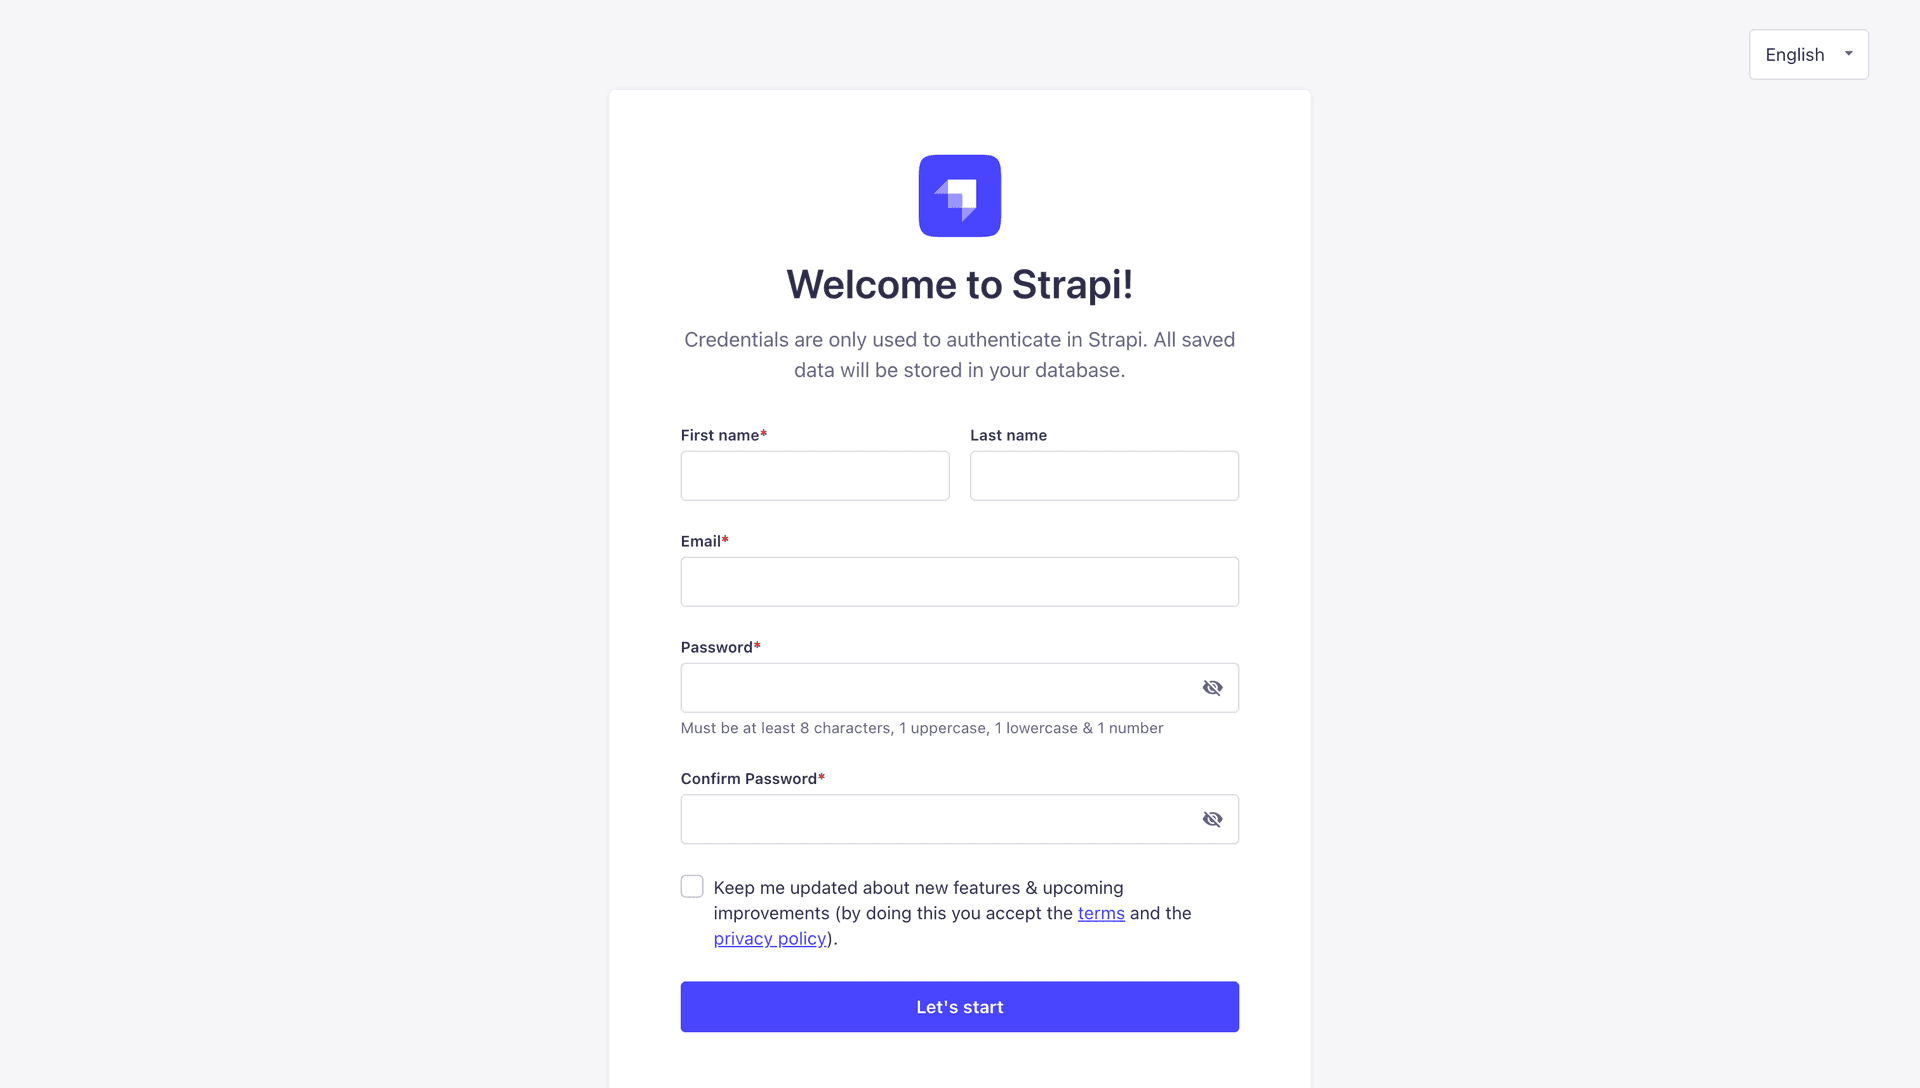
To proceed, click the Let's start button to access the admin dashboard. Now, let's learn how to create the blog schema in Strapi CMS.
Configure a blog schema in Strapi CMS
Once you have logged into the admin dashboard, it will by default, take you to the Content-Type Builder section. Here's where you can start to create the Blog schema. Click on + Create new collection type to get started.
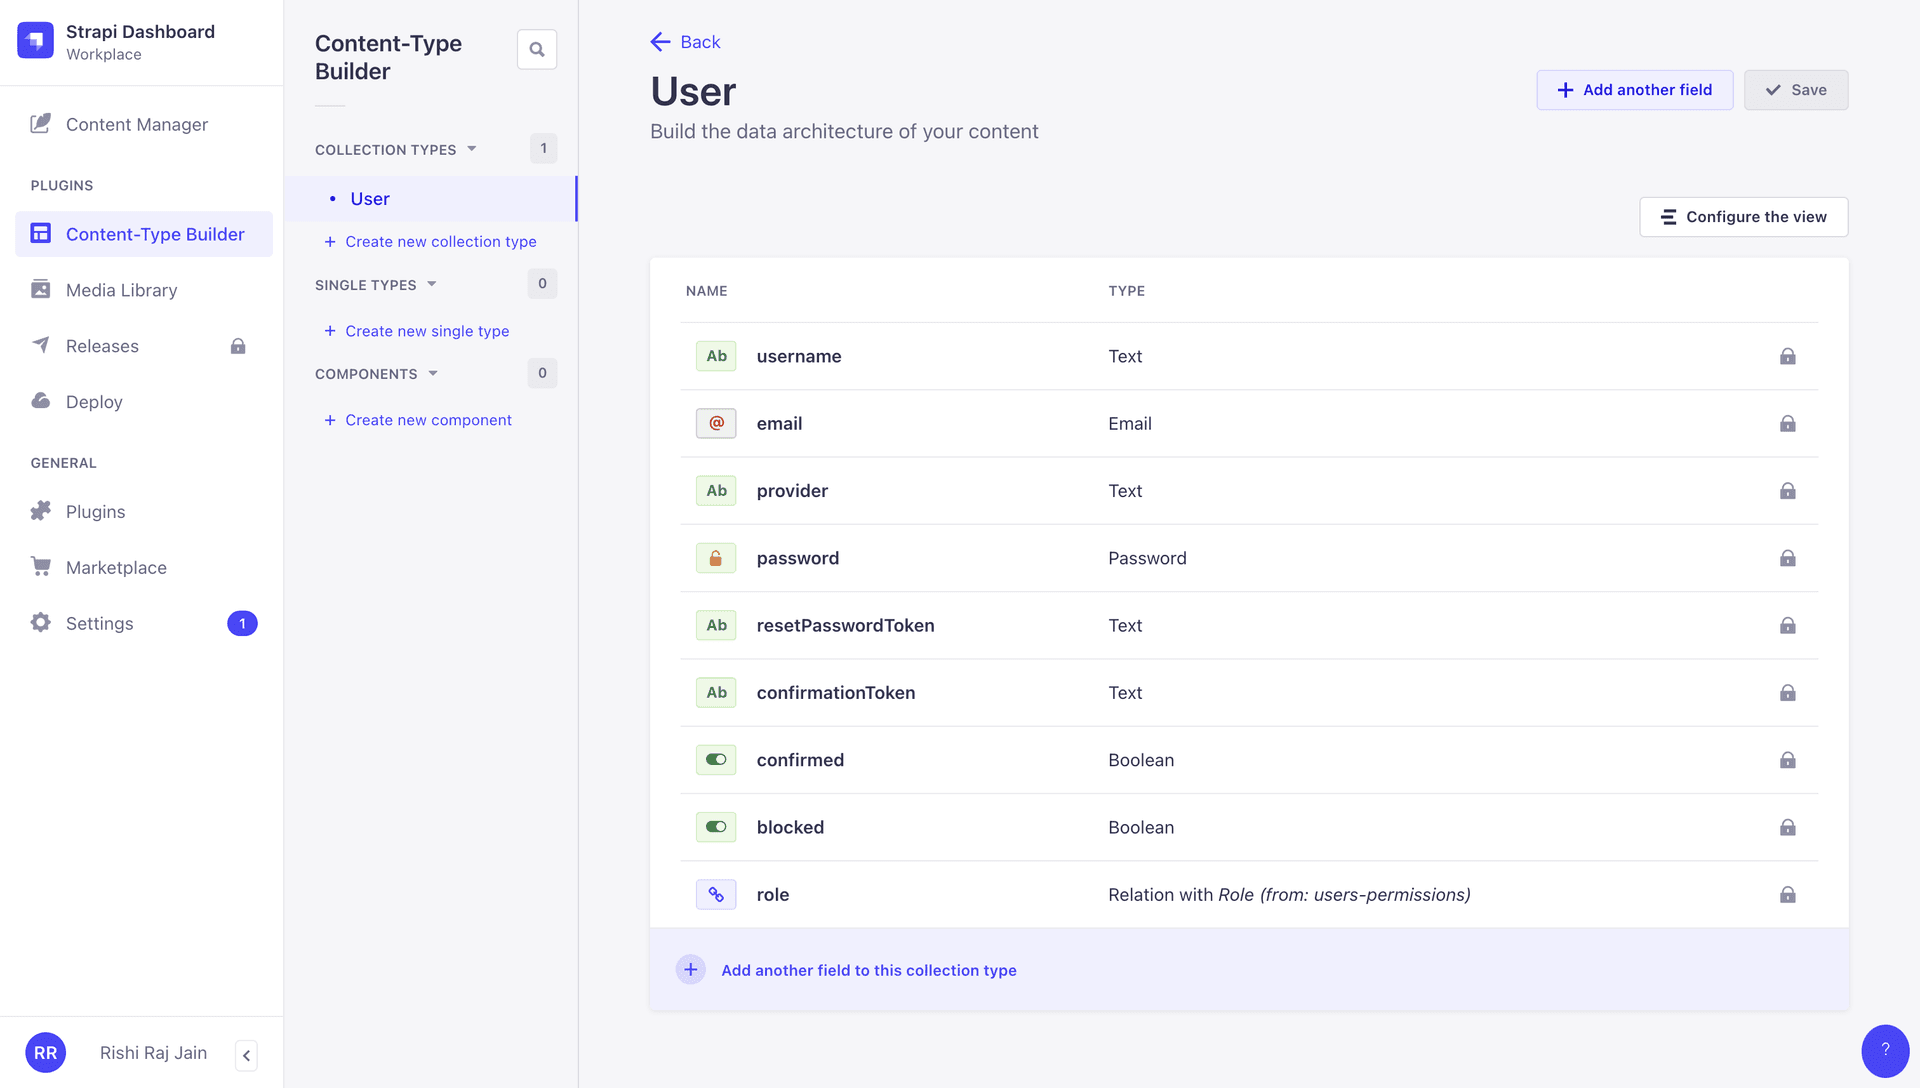
Enter the Display name for your blog schema. For example, name it Blog, and click Continue.
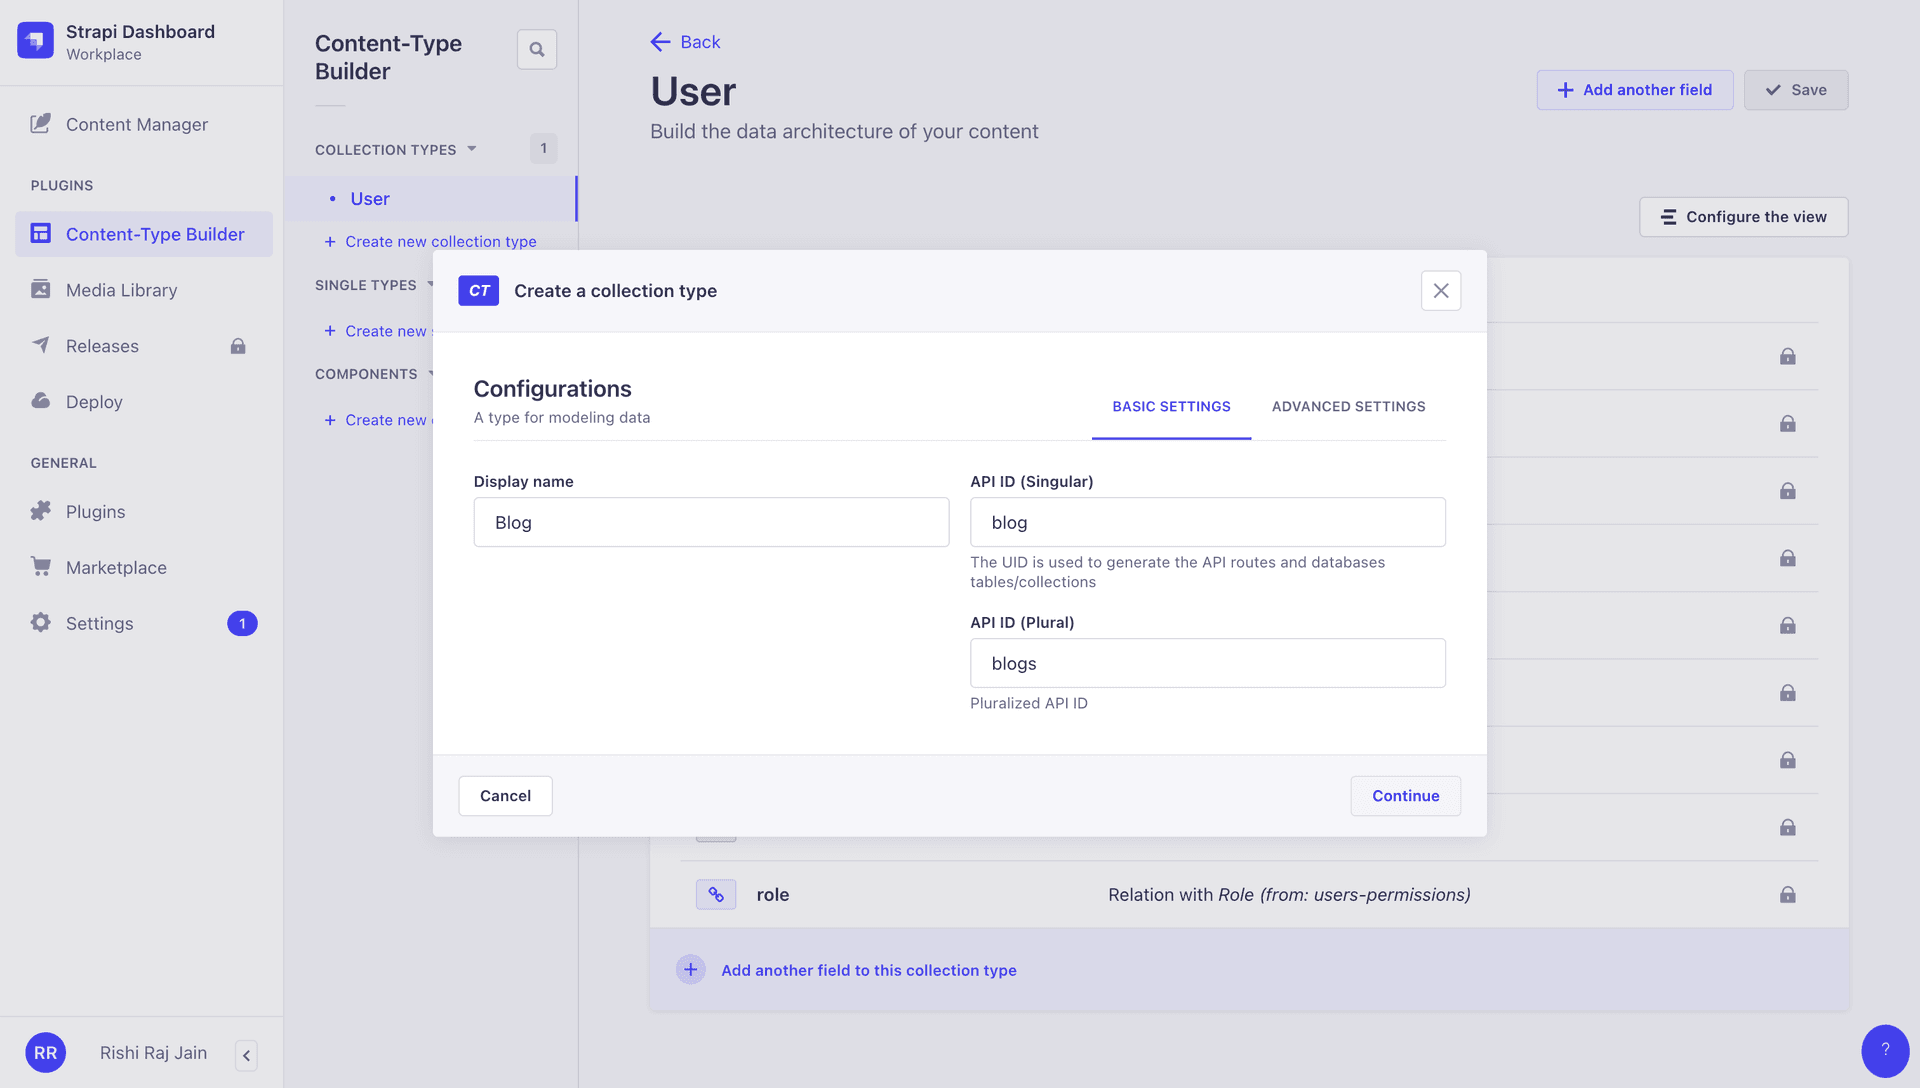
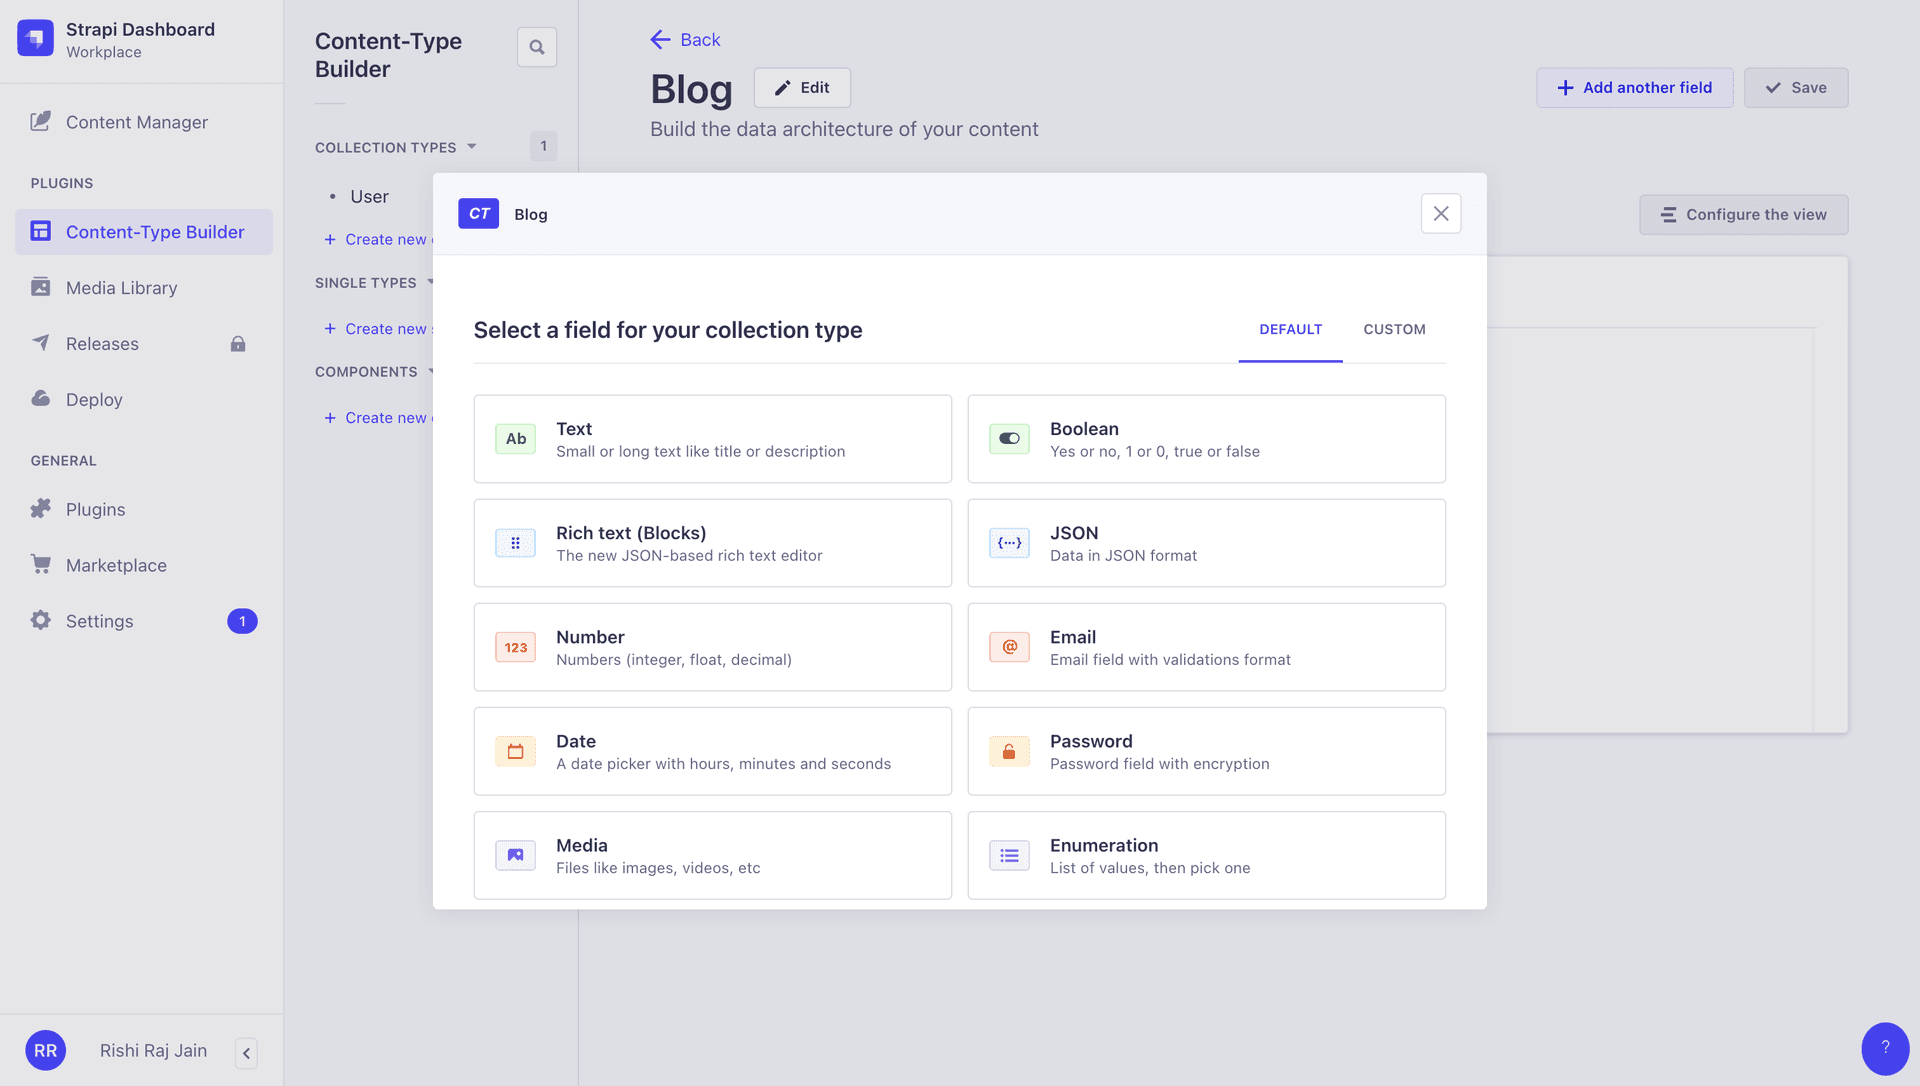
The application now asks you to create the first field inside the schema. Let's start with the Title of the blog first. Select Text, and it will automatically take you to the field detail section.
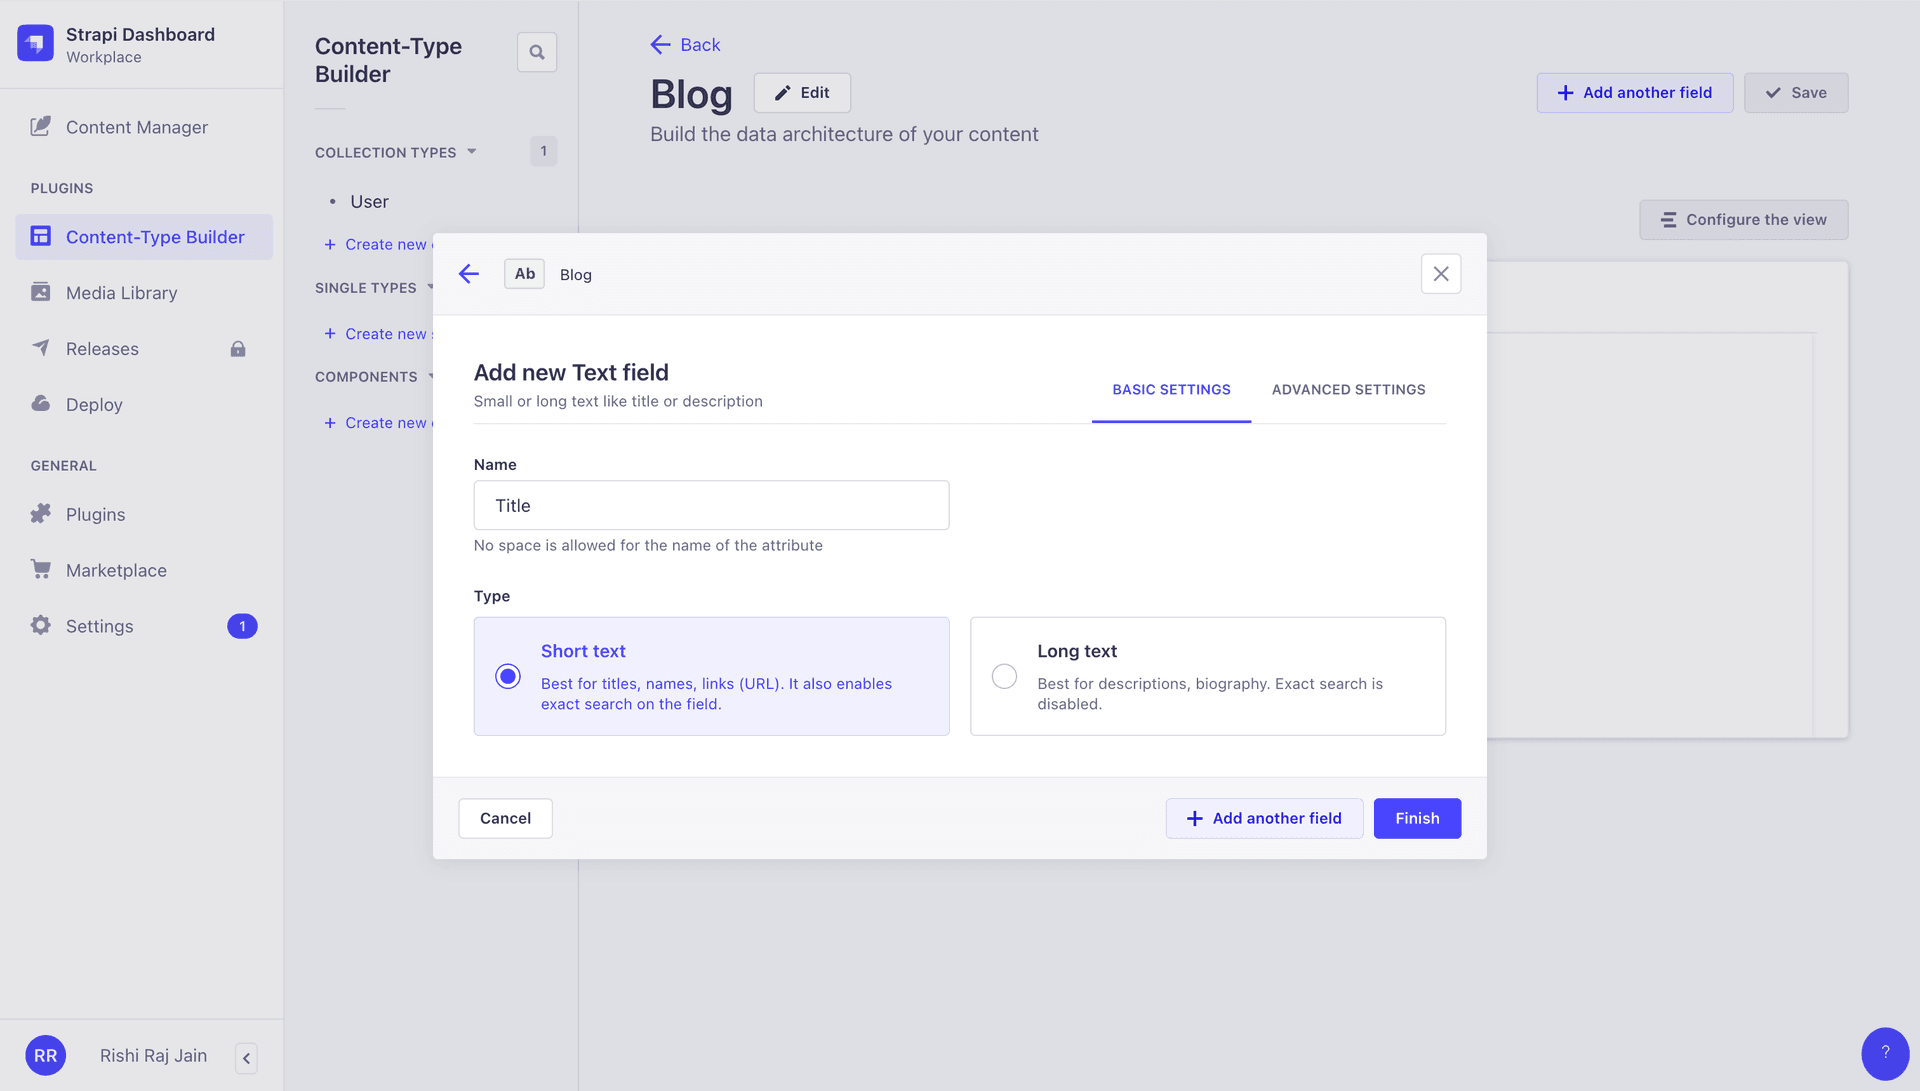
Enter Title as the Name of the first field and click Finish.
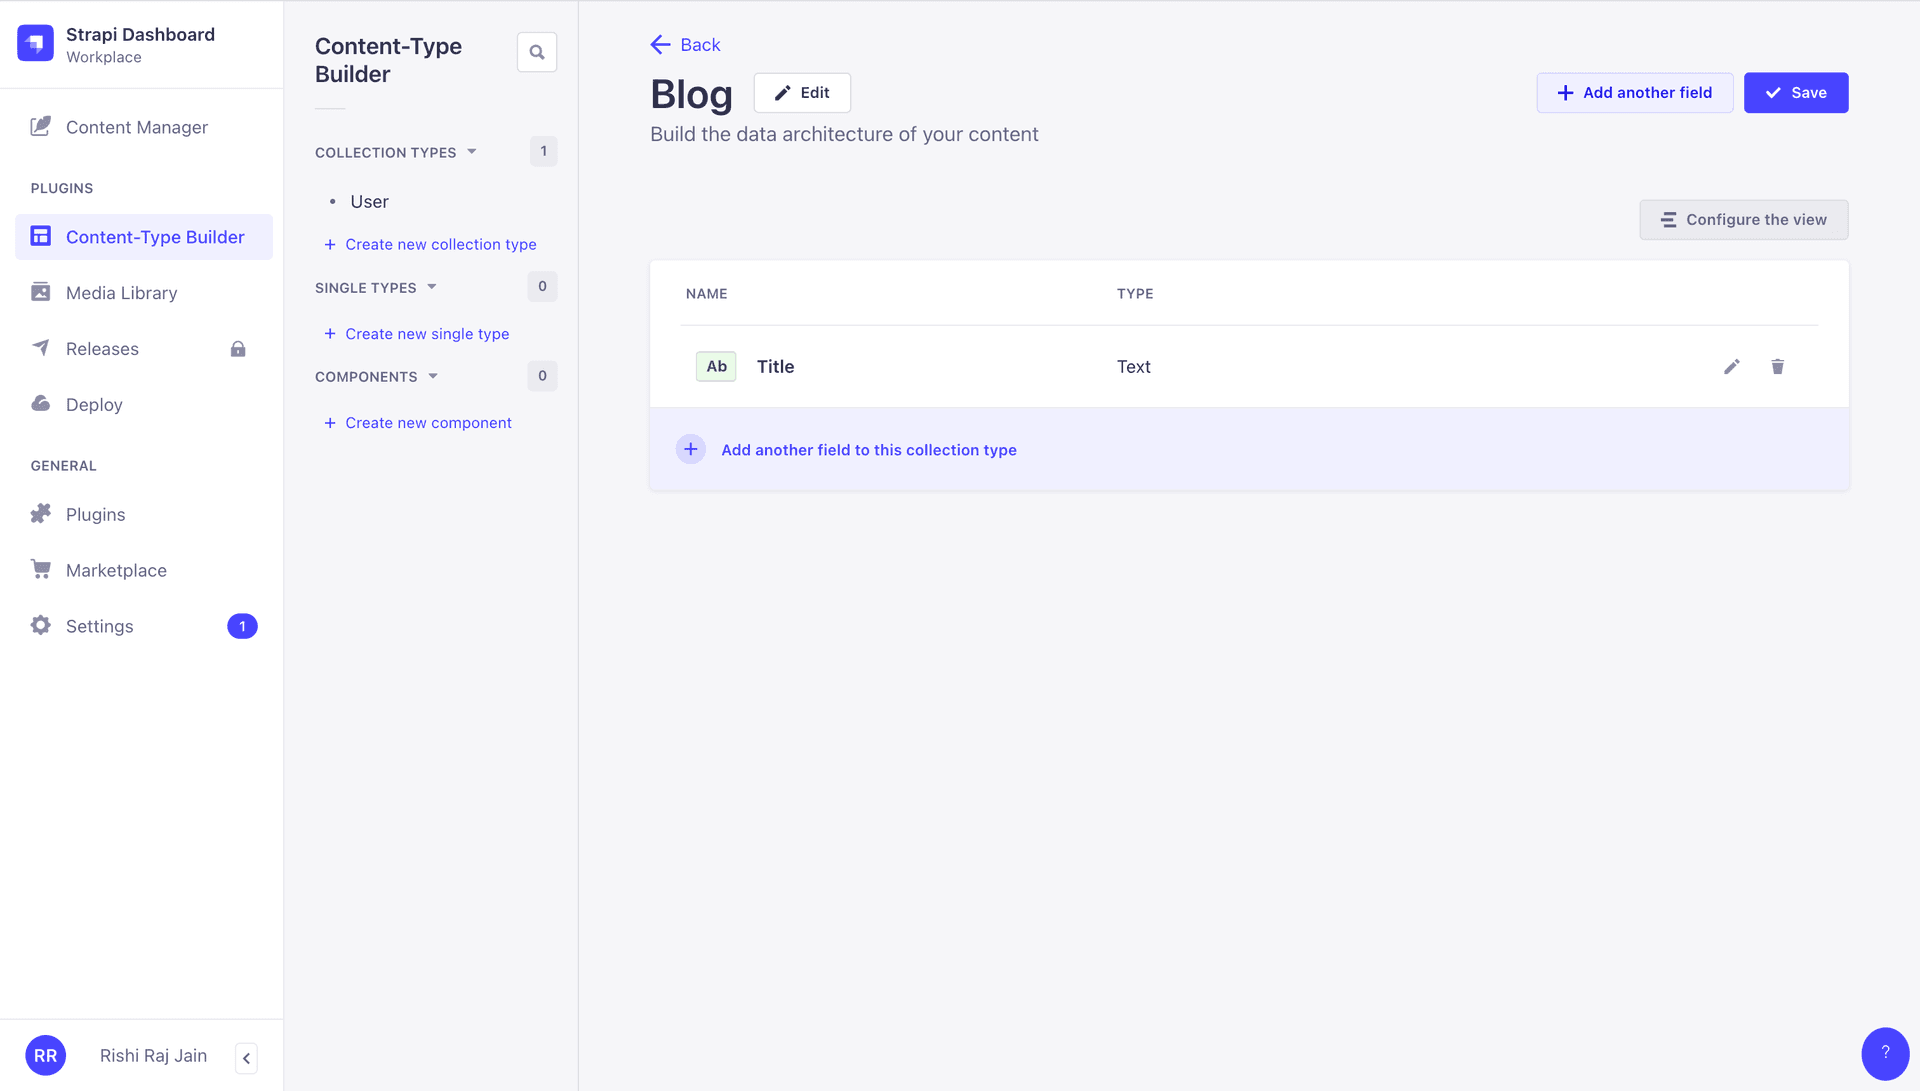
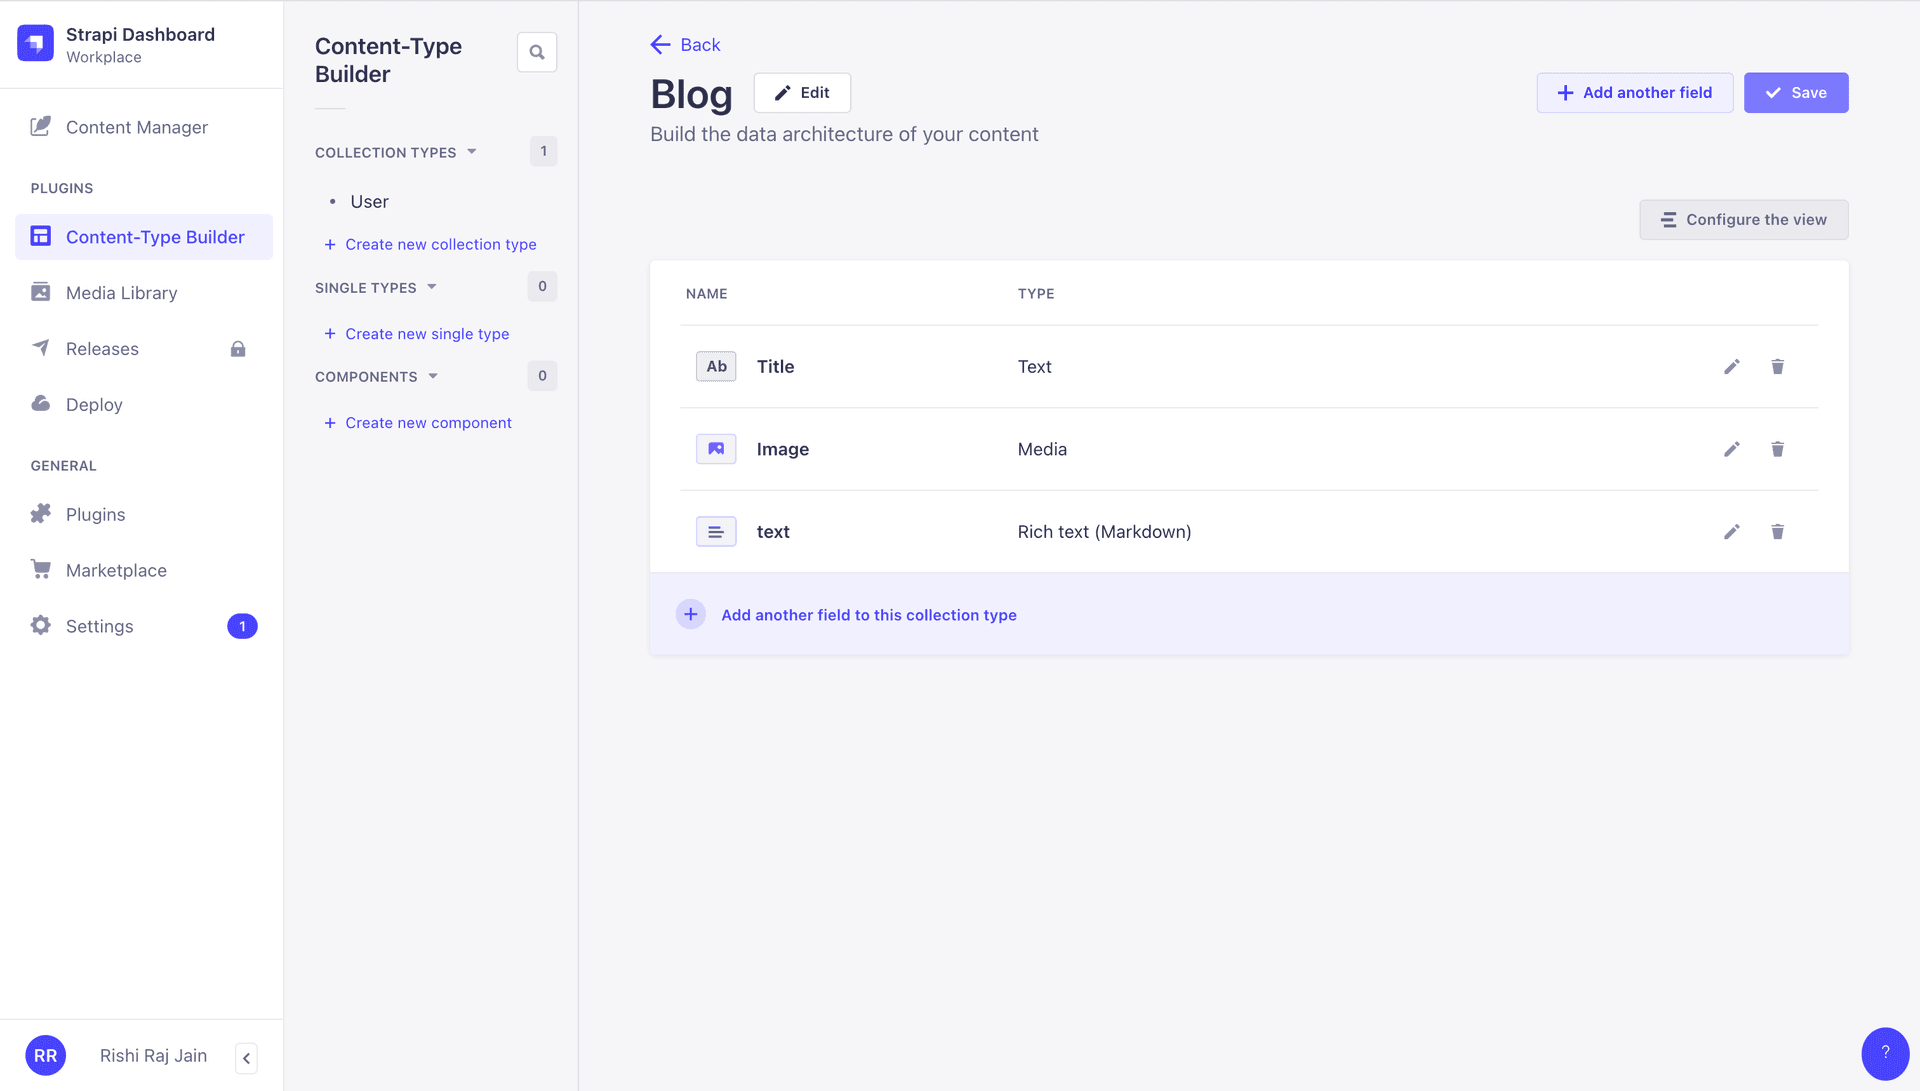
Once that's done, you are taken to an overview of the newly created Blog schema. Let's add two more fields. Click on + Add another field to this collection type.
First, you will add an image to be associated with the blog. Select Media and you are automatically taken to the asset detail section.
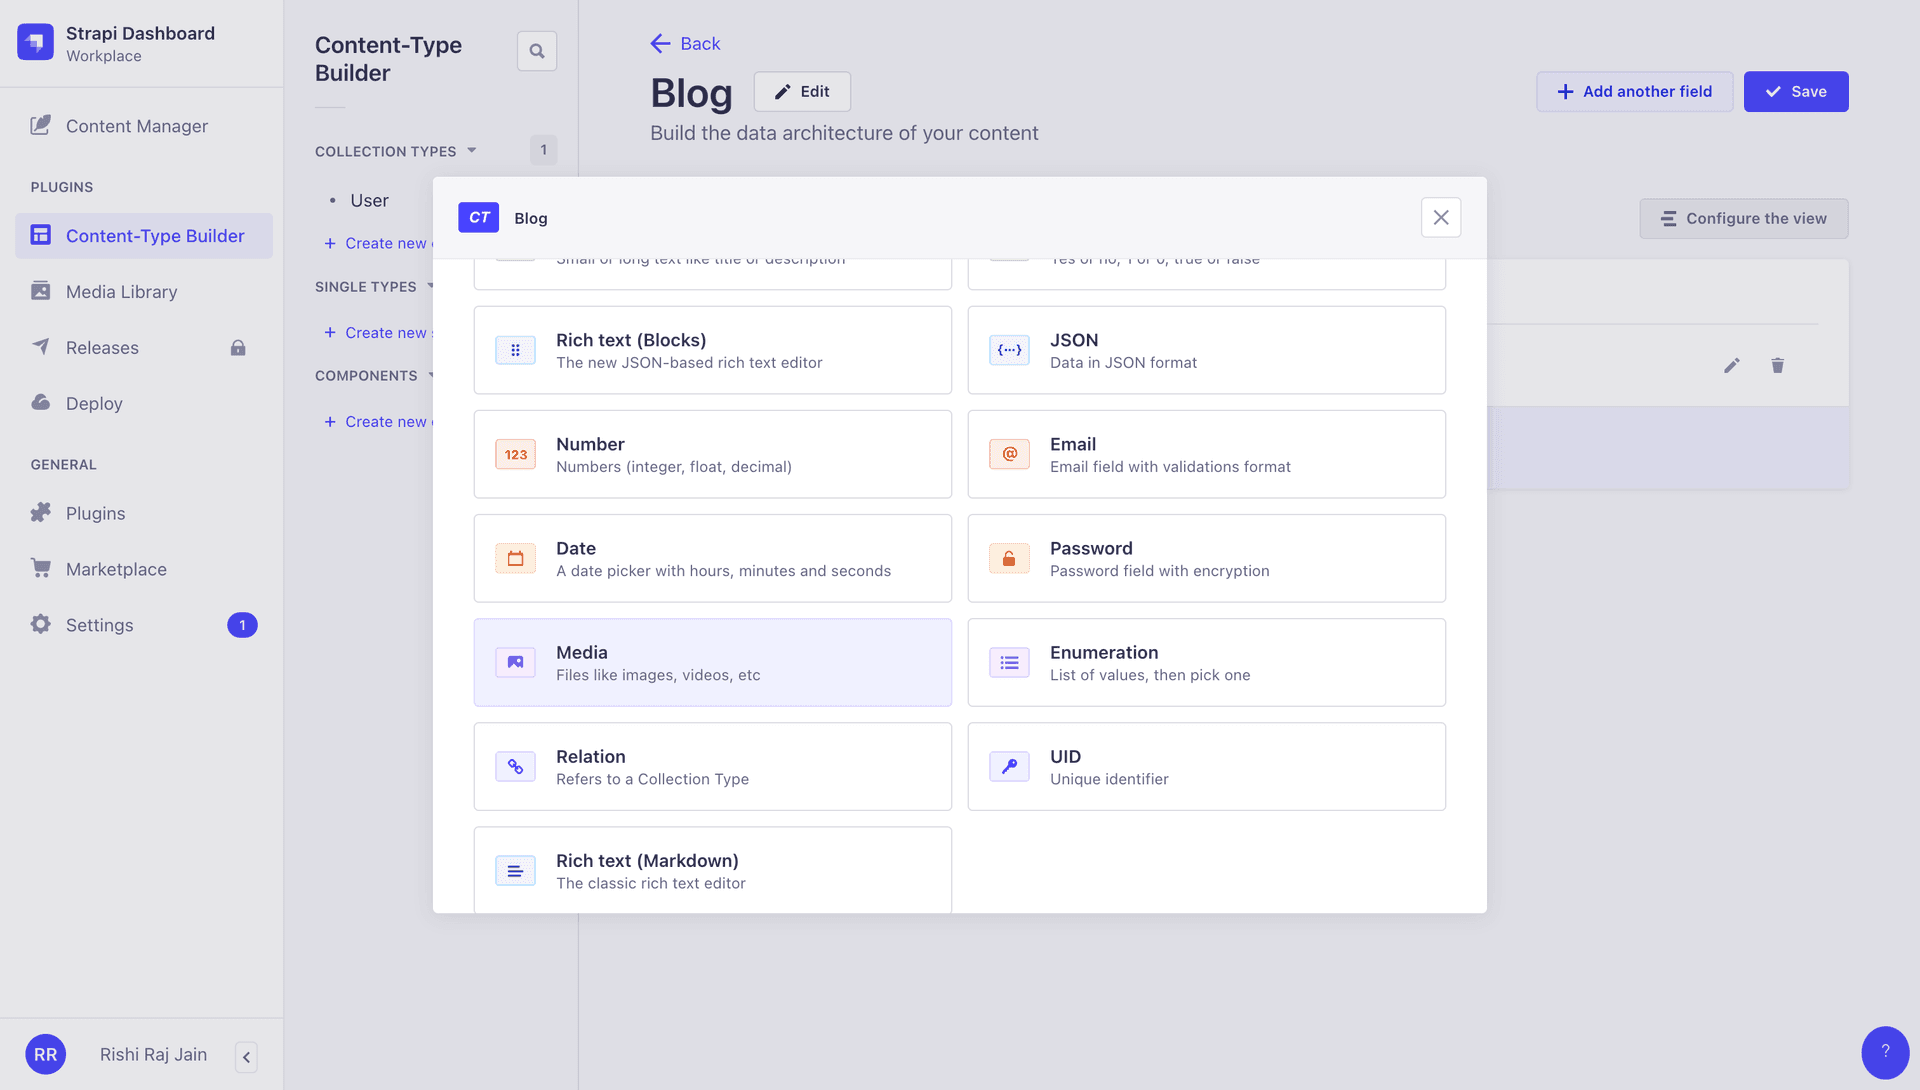
Enter Image as the Name of the image field and click Finish.
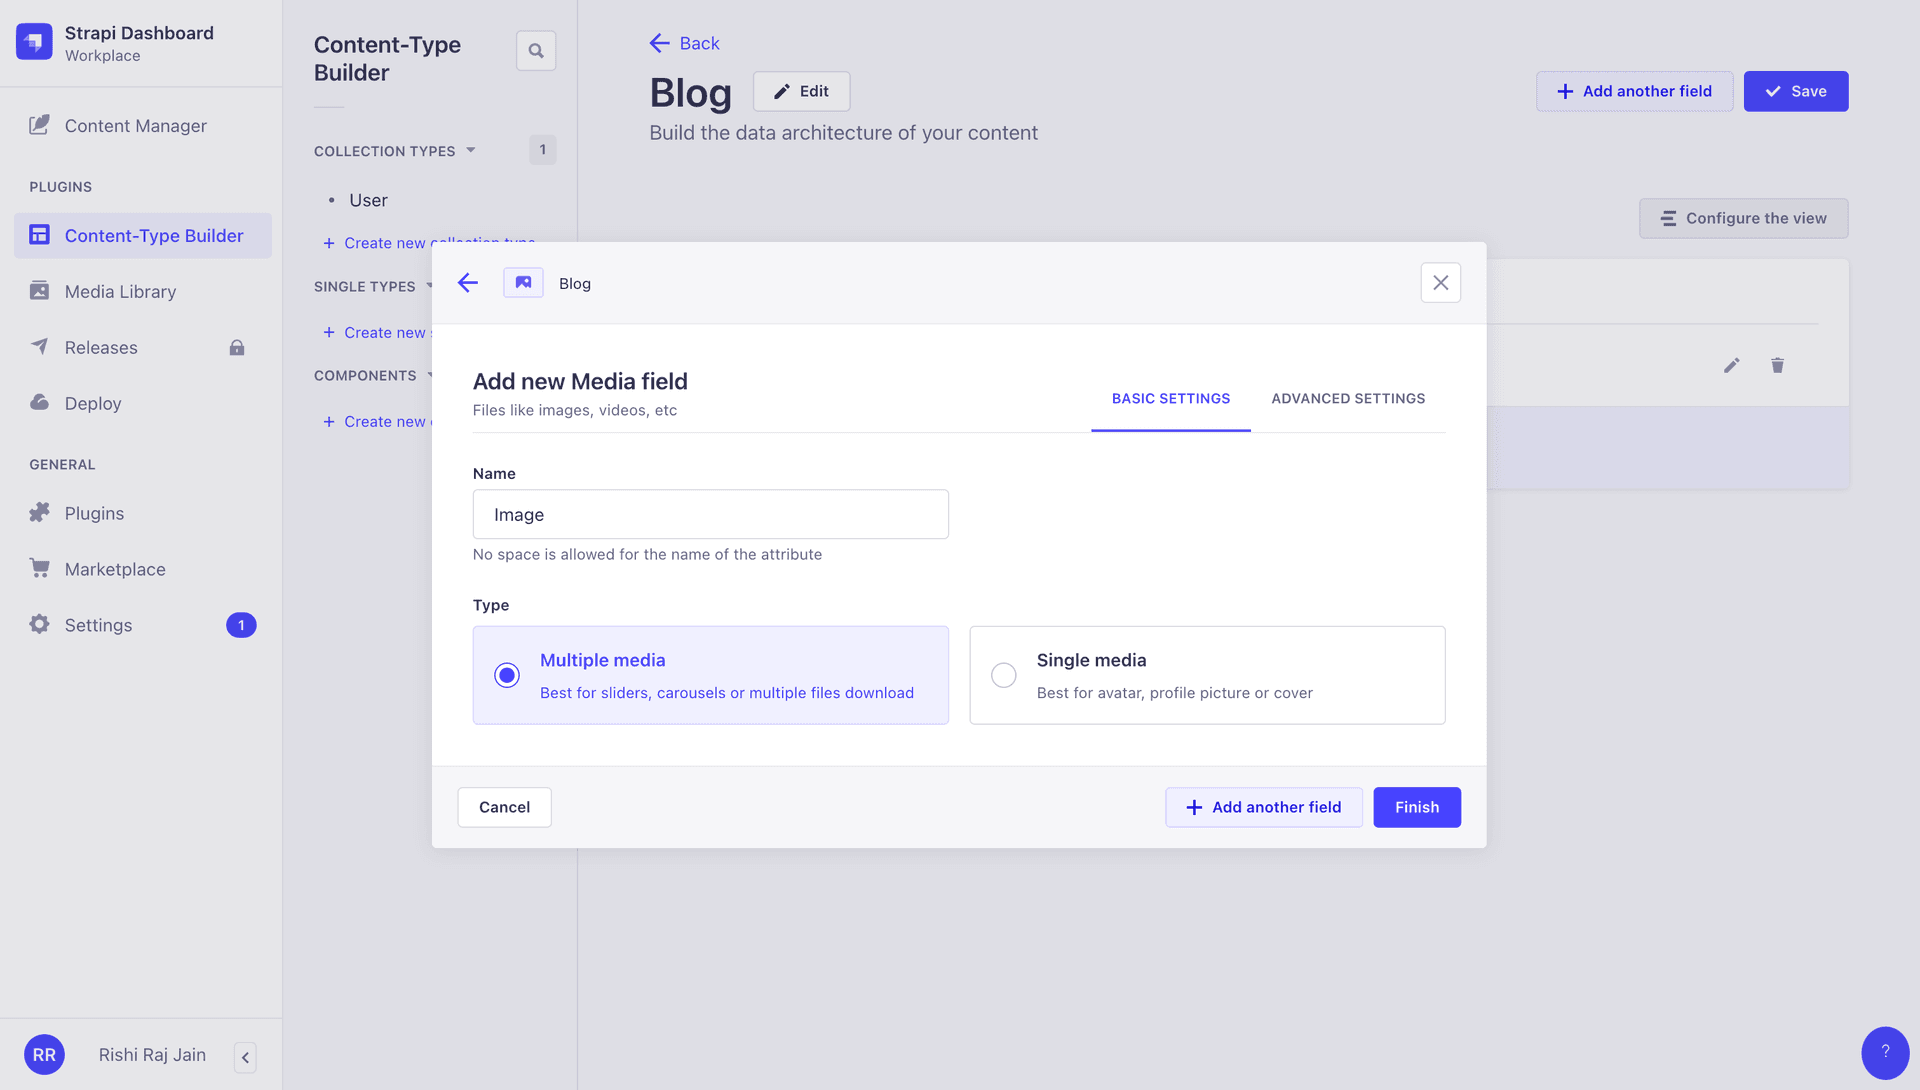
Next, you will add a markdown to be associated with the blog. Select Rich Text (Markdown). You are automatically taken to the field detail section.
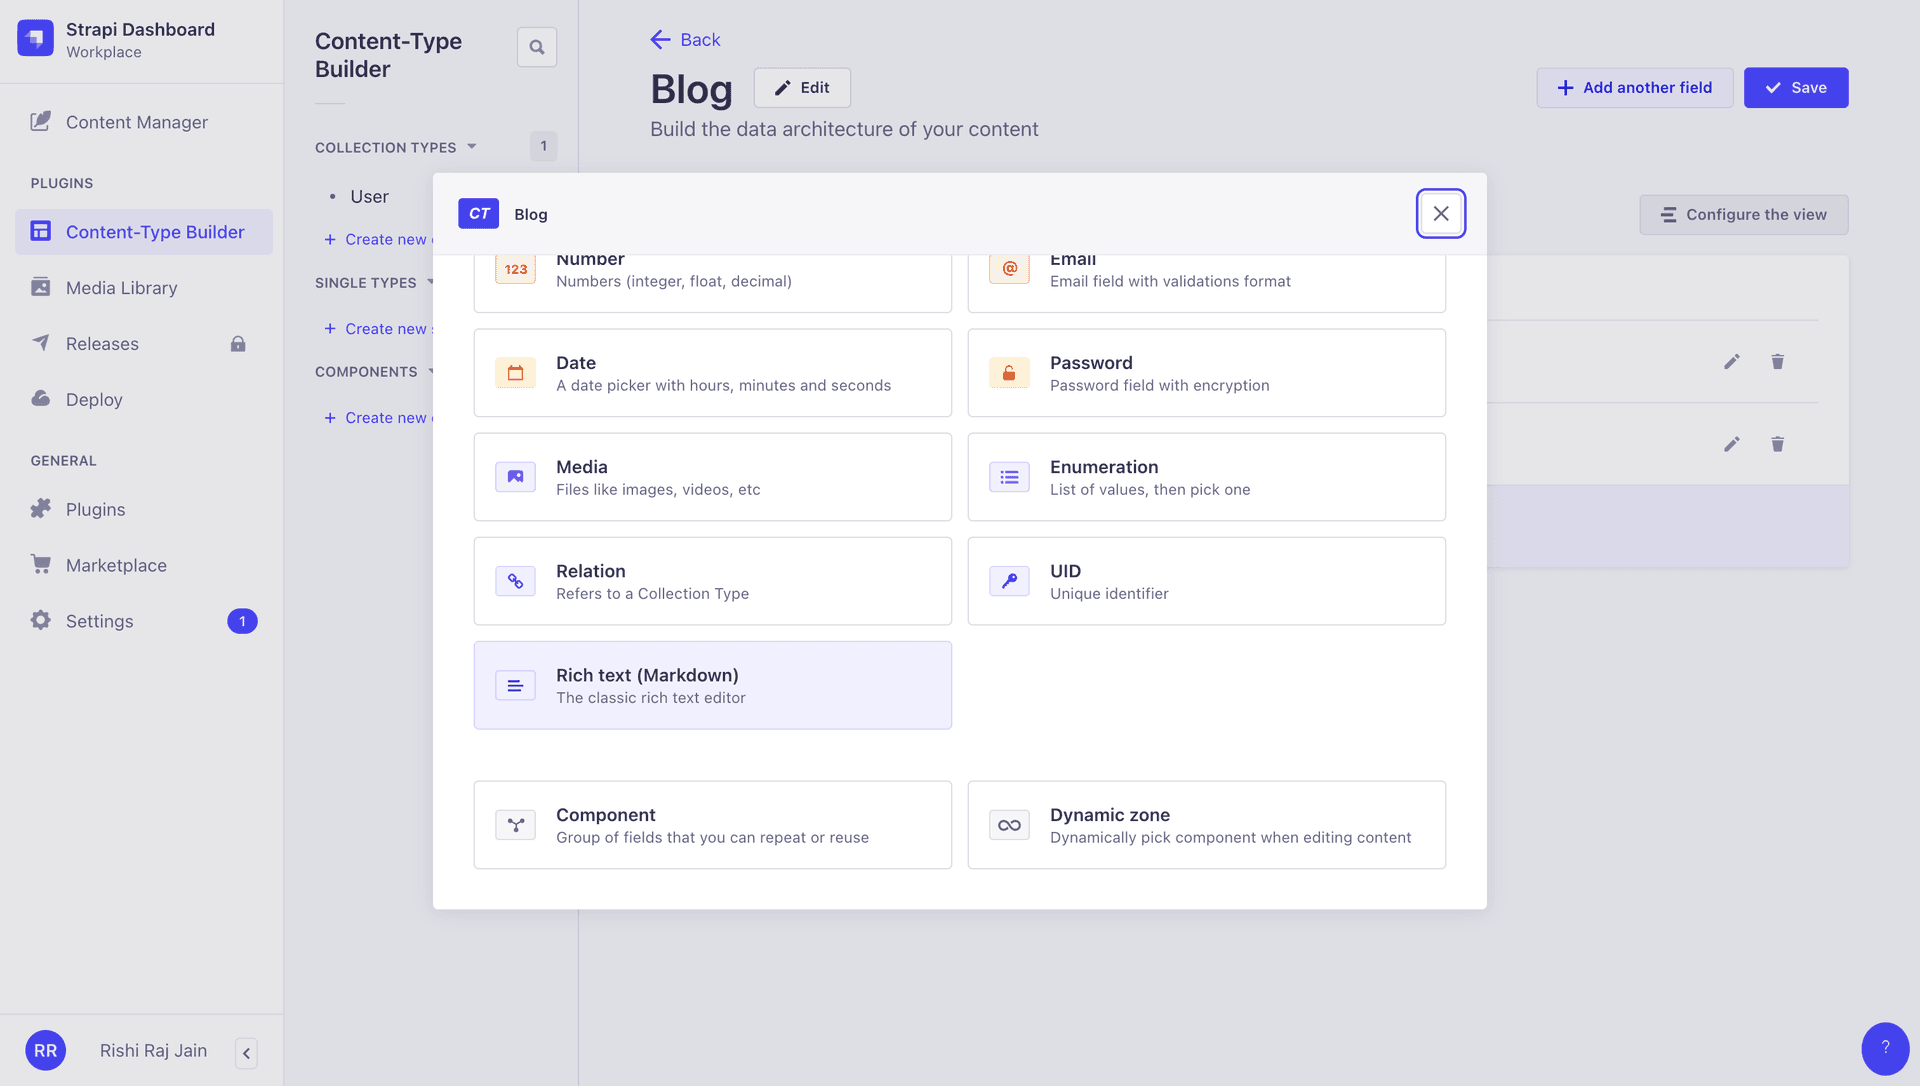
Enter text as the Name of the markdown field and click Finish.
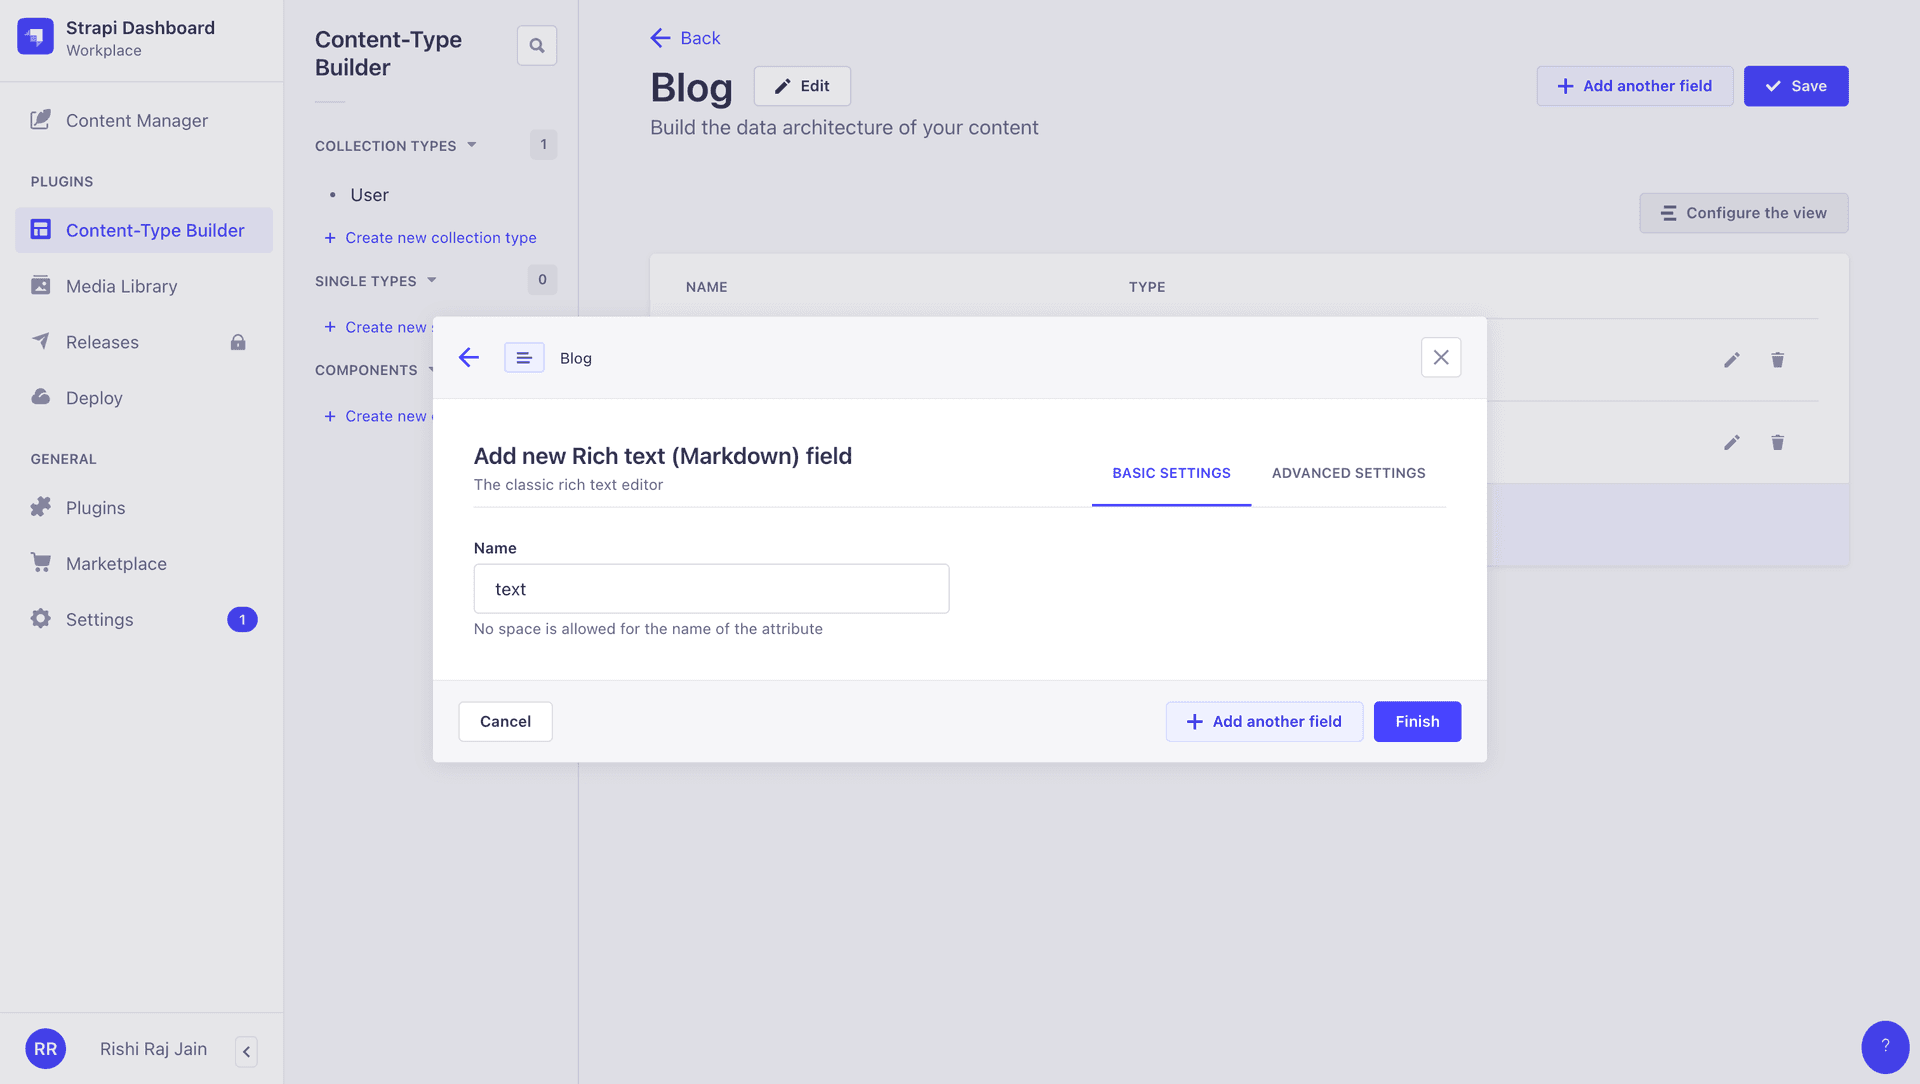
Great! Click Save to save the present configuration.
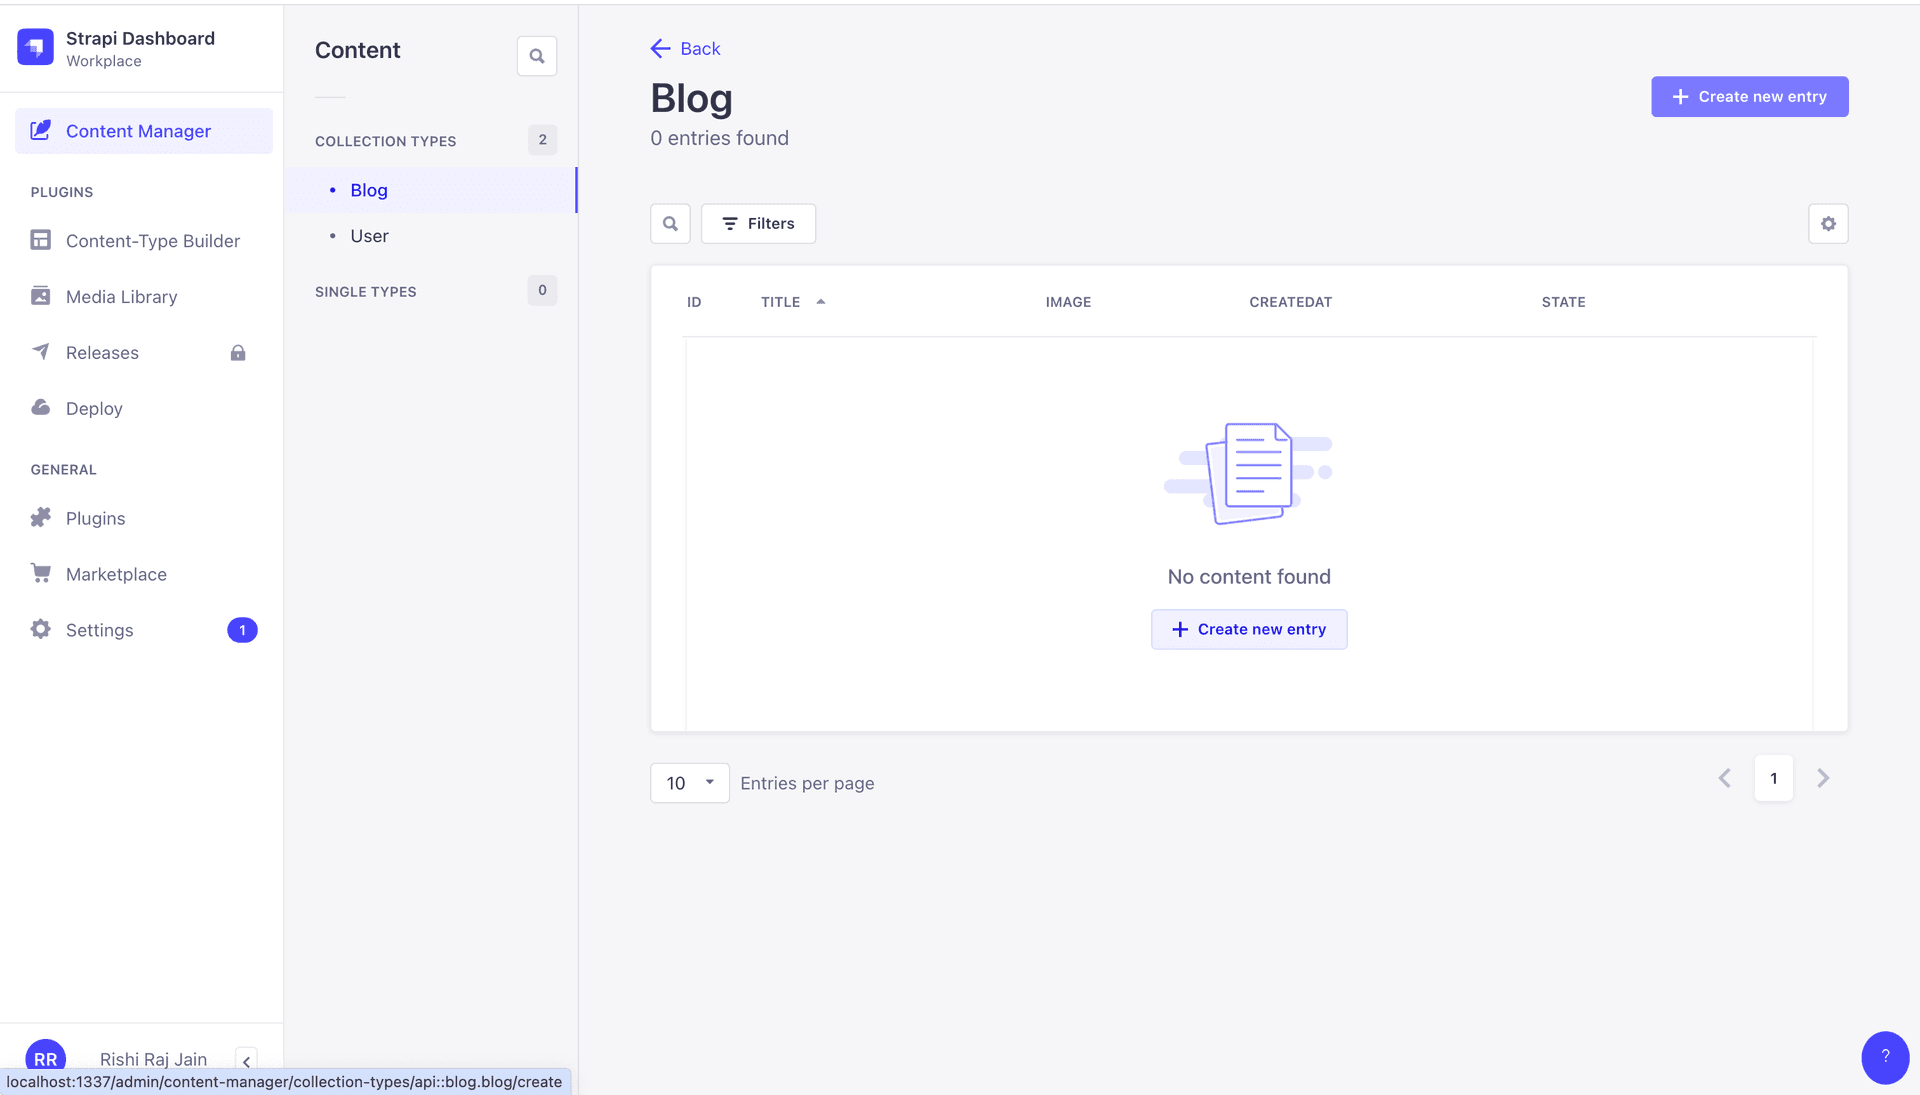
Click on the Content Manager button in the sidebar to start adding your first blog content. Click + Create new entry to get started.
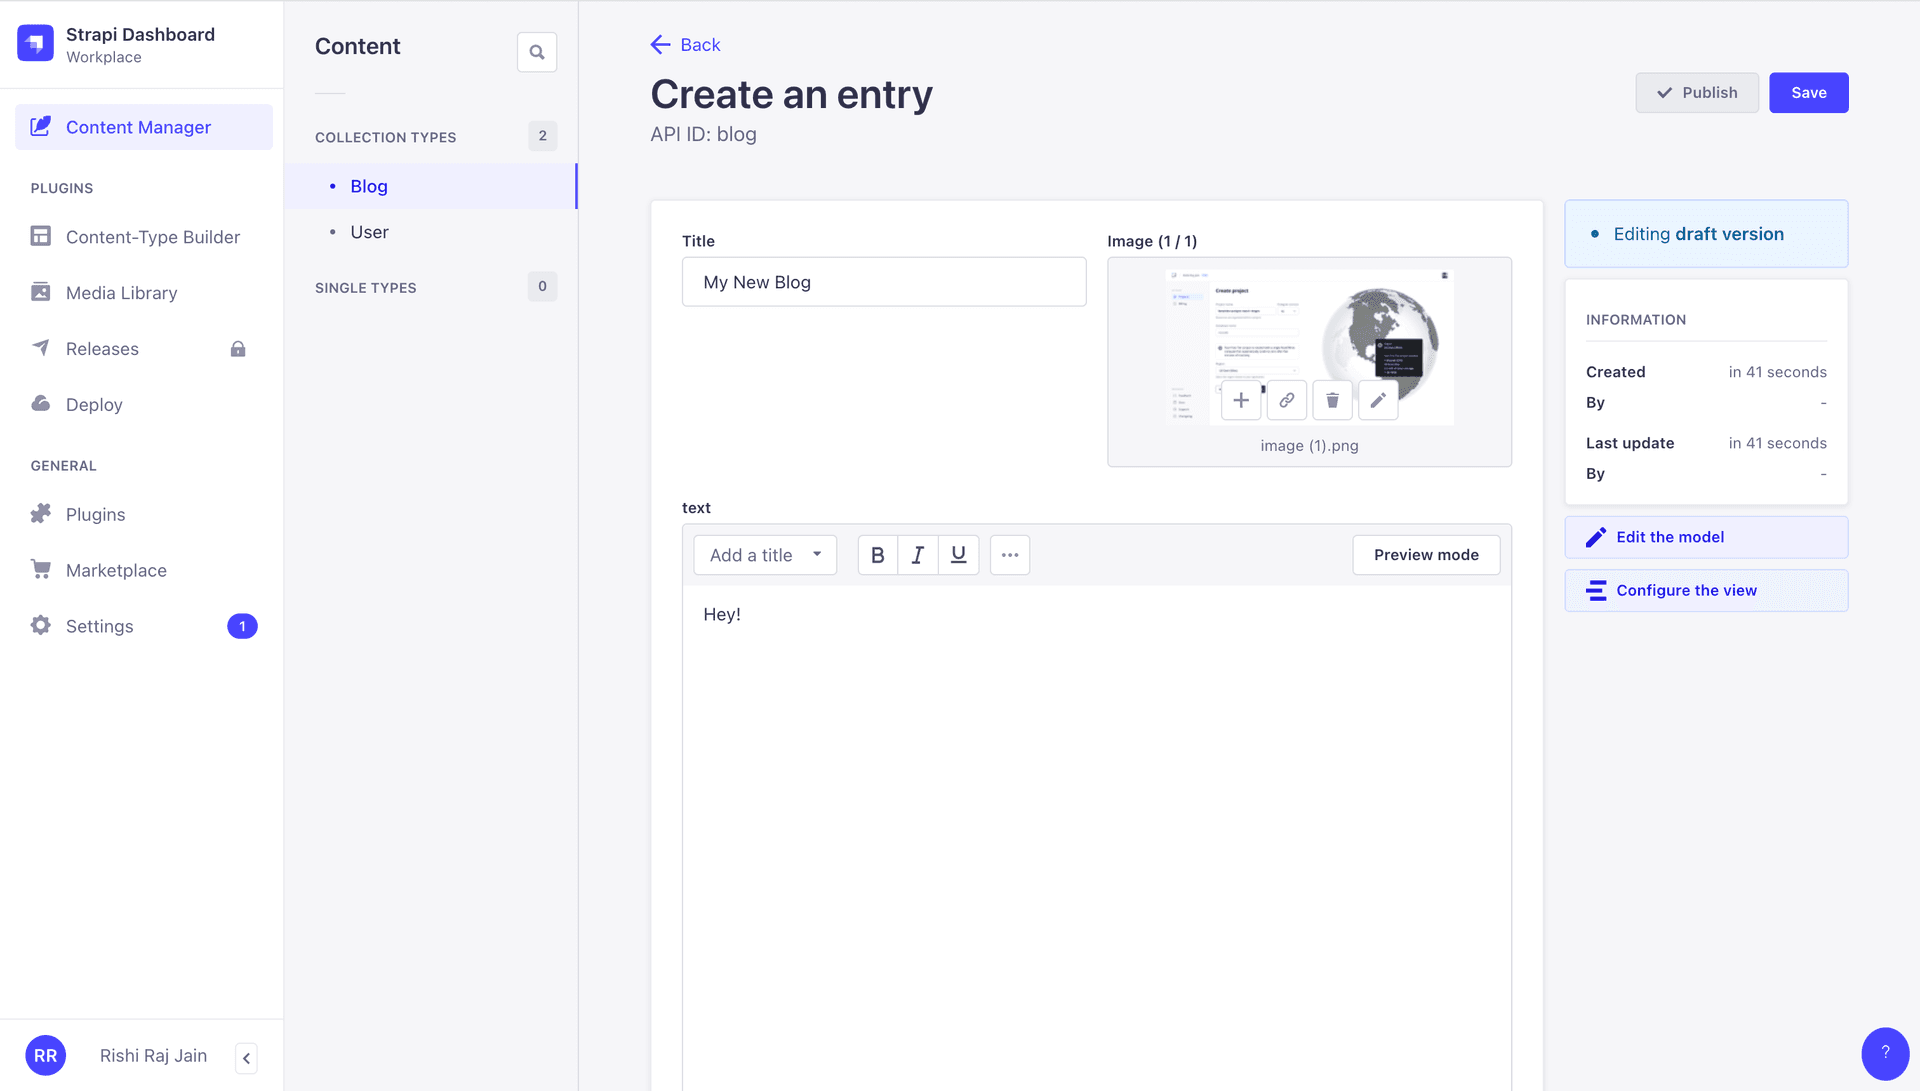
Enter the Title, select the Image, and input the markdown associated with the blog. You are now done writing your first post in the local Strapi CMS instance. All the data is synchronized in Postgres (powered by Neon). To finish off the content creation process, click Save and Publish.
With that done, let's move on to configuring read permissions for connected clients to access the data corresponding to the blog schema via an API.
Configure API Read Permissions in Strapi CMS
To be able to fetch the data authored in your local Strapi CMS instance, you will need to configure what is readable and writeable using APIs. Navigate to Settings > API Tokens in your admin dashboard. Click on Create new API Token to start creating a new API token.
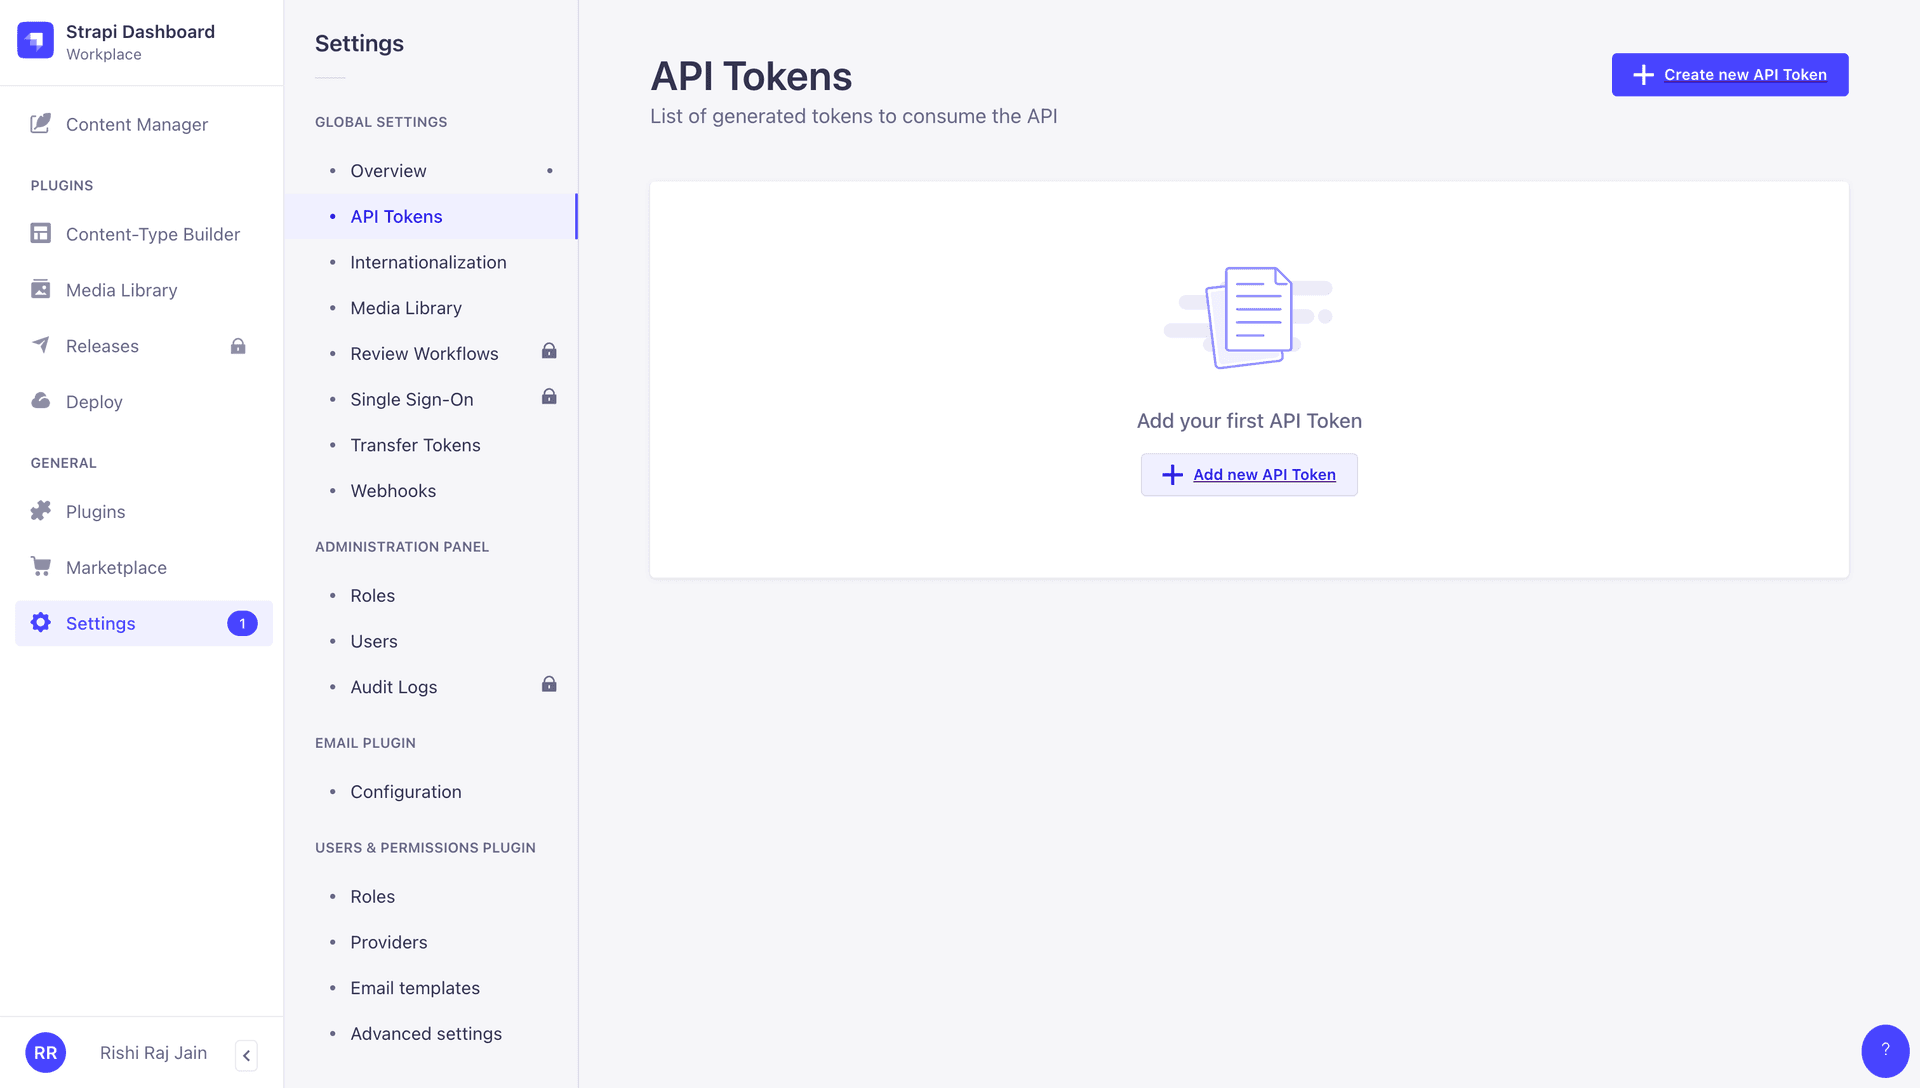
Enter a Name to be associated with the token and set Token Duration to unlimited for the sake of this example. Finally, click Save to obtain the API token.
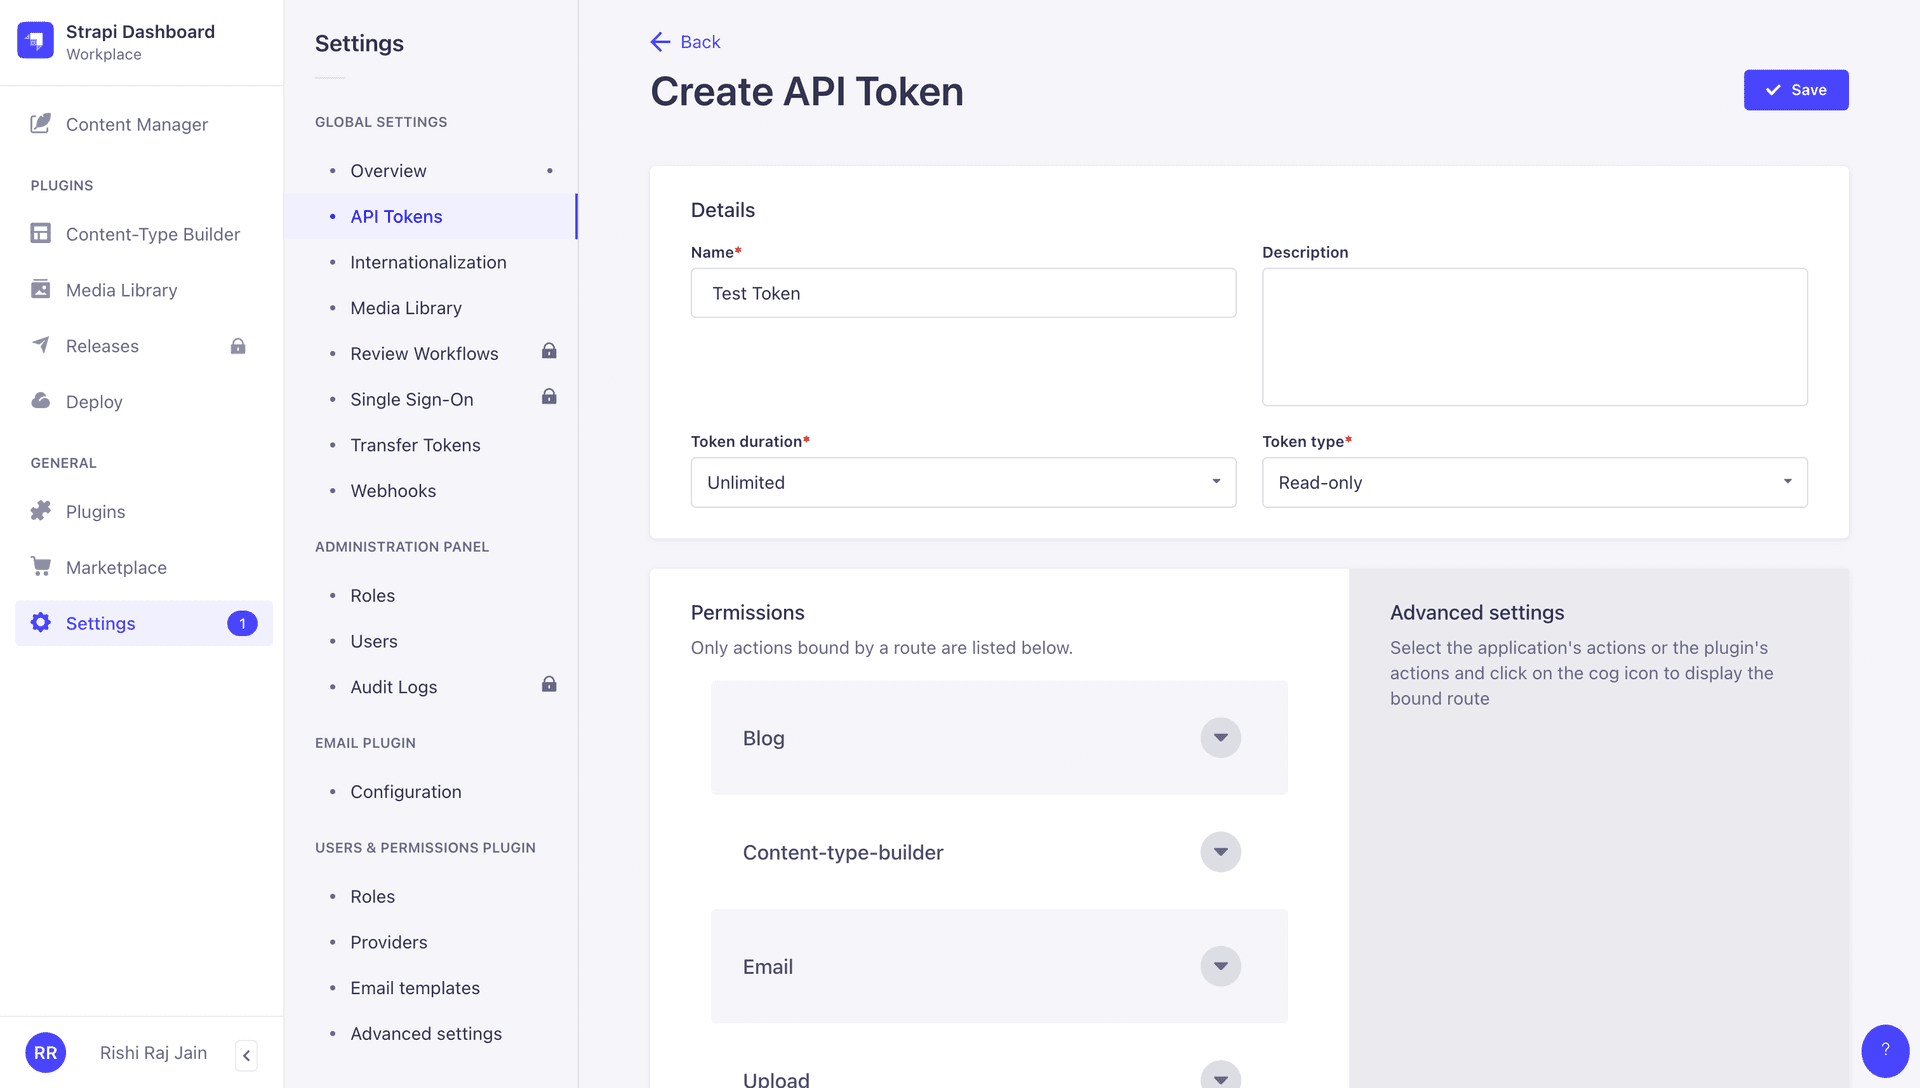
Copy the API token and store it somewhere safe as STRAPI_API_TOKEN.
Now, let's move on to creating an Astro application to create dynamic blog pages based on blog data that's accessible via your locally hosted instance of Strapi CMS.
Create a new Astro application
Let’s get started by creating a new Astro project. Open your terminal and run the following command:
npm create astro@latest blog-uinpm create astro is the recommended way to scaffold an Astro project quickly.
When prompted, choose:
Emptywhen prompted on how to start the new project.Yeswhen prompted if plan to write Typescript.Strictwhen prompted how strict Typescript should be.Yeswhen prompted to install dependencies.Yeswhen prompted to initialize a git repository.
Once that’s done, change to the project directory and start the app:
cd blog-ui
npm run dev
The app should be running on localhost:4321. Let's close the development server for now.
Next, execute the following command to install the necessary libraries and packages for building the application:
npm install dotenv marked @tailwindcss/typography
npm install -D @types/node
The commands above install the packages, with the -D flag specifying the libraries intended for development purposes only.
The libraries installed include:
- dotenv: A library for handling environment variables.
- marked: A markdown parser and compiler.
- @tailwindcss/typography: A set of
proseclasses for HTML rendered from Markdown or pulled from a CMS.
The development-specific libraries include:
- @types/node: Type definitions for node.
Then, add the following lines to your tsconfig.json file to make relative imports within the project easier:
{
  "extends": "astro/tsconfigs/strict",
  "compilerOptions": {
    "baseUrl": ".",
    "paths": {
      "@/*": ["src/*"]
    }
  }
}
Now, create a .env file. You are going to add the API token obtained earlier.
The .env file should contain the following keys:
# .env

STRAPI_API_TOKEN="..."
Integrate Tailwind CSS in your Astro application
For styling the app, you will use Tailwind CSS. Install and set up Tailwind at the root of your project's directory by running:
npx astro add tailwindWhen prompted, choose:
Yeswhen prompted to install the Tailwind dependencies.Yeswhen prompted to generate a minimaltailwind.config.mjsfile.Yeswhen prompted to make changes to the Astro configuration file.
The command finishes integrating TailwindCSS into your Astro project and installs the following dependencies:
tailwindcss: TailwindCSS as a package to scan your project files to generate corresponding styles.@astrojs/tailwind: The adapter that brings Tailwind's utility CSS classes to every.astrofile and framework component in your project.
To load pre-configured styles for your HTML (rendered from markdown), update your tailwind.config.mjs as follows:
/** @type {import('tailwindcss').Config} */
export default {
  content: ['./src/**/*.{astro,html,js,jsx,md,mdx,svelte,ts,tsx,vue}'],
  theme: {
    extend: {},
  },
  plugins: [require('@tailwindcss/typography')],
};
Create dynamic blog routes in Astro
To programmatically create pages as you keep authoring more content in your locally hosted Strapi CMS, you are going to use dynamic routes in Astro. With dynamic routes, you create a single file with a name like [slug].astro, where slug represents a unique and dynamic variable for each blog. Using getStaticPaths, you can programmatically create multiple blog pages with custom data using Strapi CMS as your data source. Let's see this in action. Create a file named [slug].astro in the src/pages directory with the following code:
---
// File: src/pages/[slug].astro

import "dotenv/config";
import { marked } from 'marked';

export async function getStaticPaths() {
  const response = await fetch(`http://127.0.0.1:1337/api/blogs?populate=Image`, {
    headers: {
      "Content-Type": "application/json",
      Authorization: `Bearer ${process.env.STRAPI_API_TOKEN}`,
    },
  });
  const {data} = await response.json();
  return data.map(({ id, attributes }) => ({
    params: { slug: id },
    props: attributes,
  }));
}

const { Title, text, Image } = Astro.props

const markdown = marked.parse(text)
---

<html lang="en">
  <head>
    <meta charset="utf-8" />
    <link rel="icon" type="image/svg+xml" href="/favicon.svg" />
    <meta name="viewport" content="width=device-width" />
    <meta name="generator" content={Astro.generator} />
    <title>Astro</title>
  </head>
  <body>
    <h1>{Title}</h1>
    <img src={`http://127.0.0.1:1337${Image.data[0].attributes.url}`} />
    <article set:html={markdown} />
  </body>
</html>
Let's understand the code above in two parts:
-
Inside
getStaticPathsfunction, a fetch call is made to the locally hosted Strapi CMS API to get all the blogs with their Title, Image and text values. Looping over each blog item, an array is created that passes all the data obtained as the props, and its id as the unique variable to be associated with each blog. -
The HTML section represents the content of a particular blog page. The blog data attributes such as Title, Image URL, and markdown are obtained from
Astro.props(passed ingetStaticPathsas props). Further, the markdown is parsed into HTML using themarkedlibrary, and injected into the DOM usingset:htmltemplate directive of Astro.
Build and Test your Astro application locally
To test the Astro application in action, prepare a build and run the preview server using the following command:
npm run build && npm run previewScale-to-zero with Postgres (powered by Neon)
Interestingly, during the entire process of building this application, you have used Neon's Scale-to-zero feature which places your Postgres compute endpoint into an idle state after 5 minutes of inactivity. Click the Operations button in your Neon console sidebar to see when the compute was started and automatically suspended to reduce compute usage.

Summary
In this guide, you learned how to build a blog in an Astro application using Strapi CMS and a serverless Postgres database (powered by Neon). Additionally, you learned how to create content collections in Strapi CMS and dynamic blog routes in an Astro application.
Need help?
Join our Discord Server to ask questions or see what others are doing with Neon. Users on paid plans can open a support ticket from the console. For more details, see Getting Support.